When travelling in Japan, you have a lot of options when it comes to travelling between regions. Between local trains, night buses, and high-speed trains, each option provides their own mix of cost, time, and convenience – and are all viable options depending on how much you value each factor.
For the fastest option, the Shinkansen offers by far the speediest service – being over twice as fast in some routes. It does come at a cost, quite literally, as the Shinkansen is among the priciest options here.
The Japan Rail Pass is one of the ways to offset the high price, offering tourists a fast and economical way to explore the country. It’s still not the cheapest thing in the world, but depending on how the trip is planned, the JR Pass can help you save some money in the long run. So what does the pass actually offer? And what’s the minimum amount of travel you need to cover the cost of the pass? Let’s find out. How Good Is The Japan Rail Pass Actually?
❗️❗️❗️
Editor’s Note: This Review was written before the October 1st, 2023 JR Pass price increase, so the calculations will be based on the older values. But while the price has changed, everything else in this review (ticket redemption, JR Pass usage, seat reservations, etc.) are still up to date.
❗️❗️❗️
–JR Pass Redemption & Features–
–Reserving your Seats–
–Departing from Tokyo Station–
–Shinkansen Overview–
–Mt. Fuji–
–Arrival at Shin-Kobe Station–
–At Shin-Kobe Station–
–Side Note: Things to do at Kobe–
–Departing from Shin-Kobe Station–
–Arrival at Shin-Osaka Station–
–Side Note: Things to do at Osaka–
–Verdict–
–Part 2: Osaka->Kyoto->Tokyo–
–Part 3: Narita Express–
__________
__________
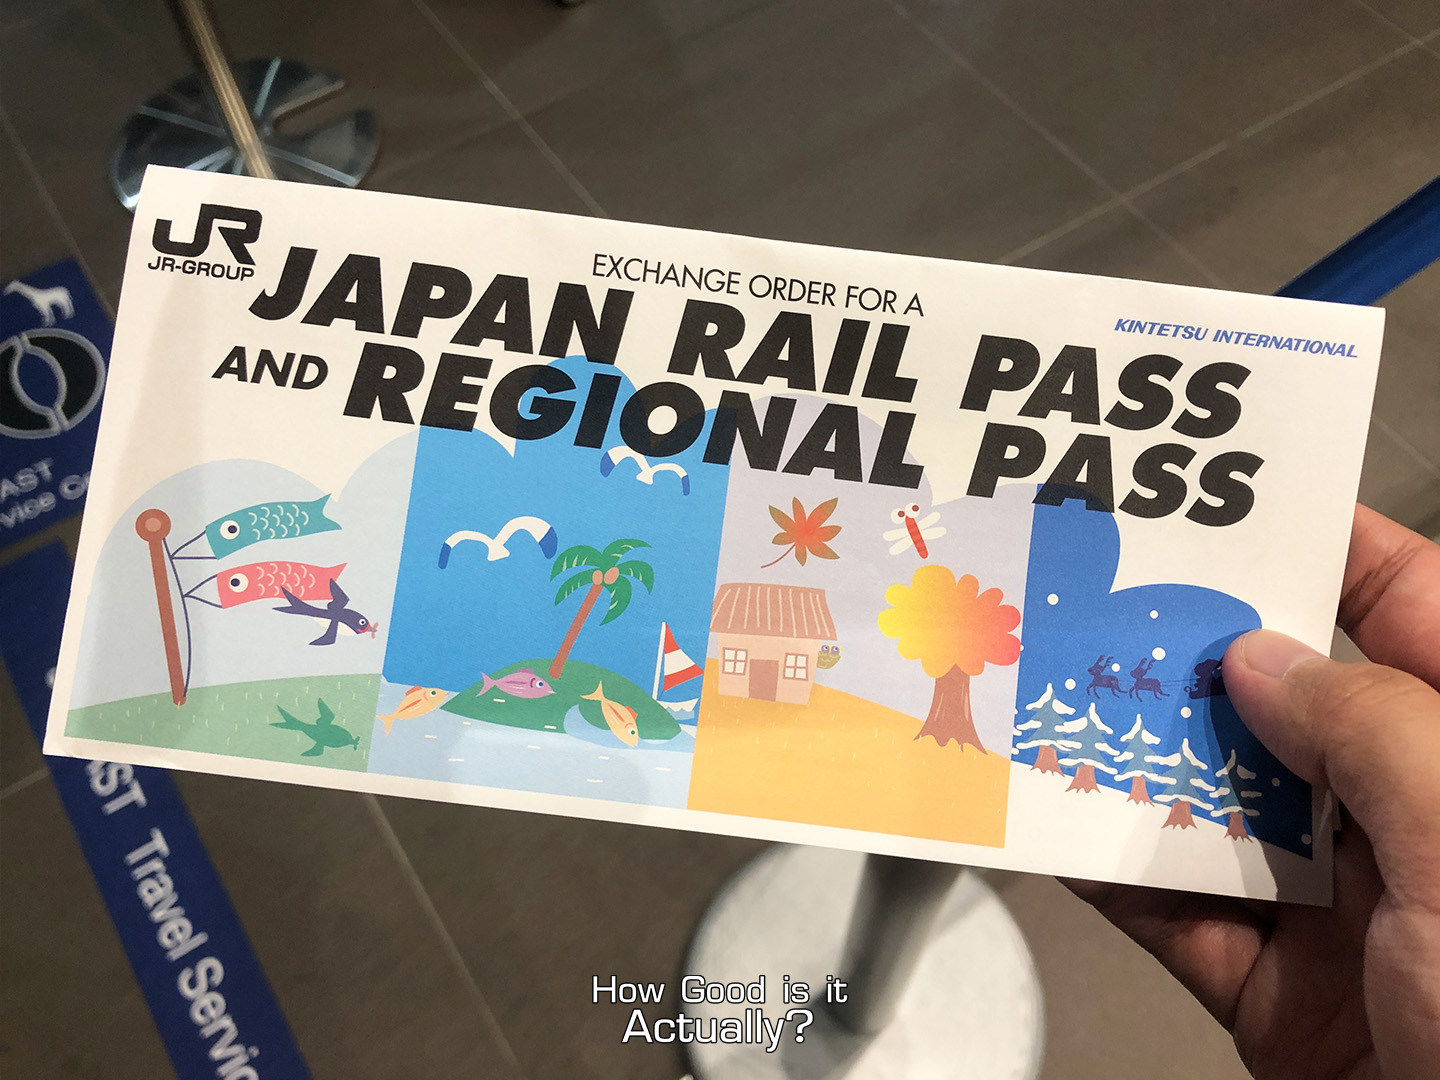
✉️ JR Pass Redemption & Features ✉️
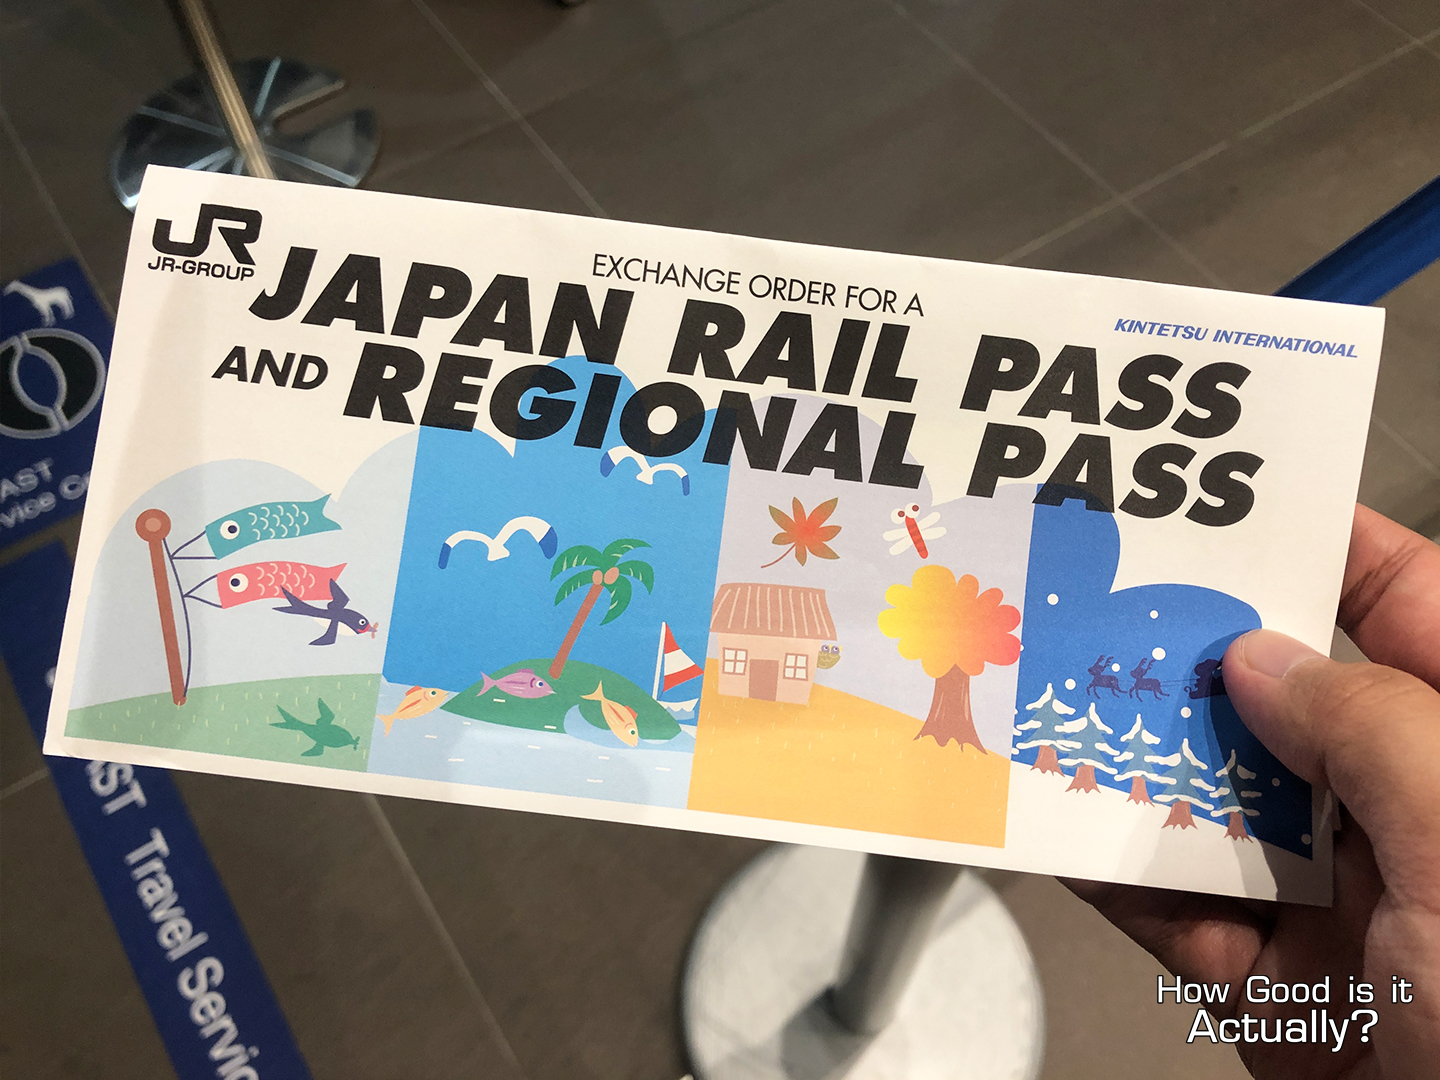
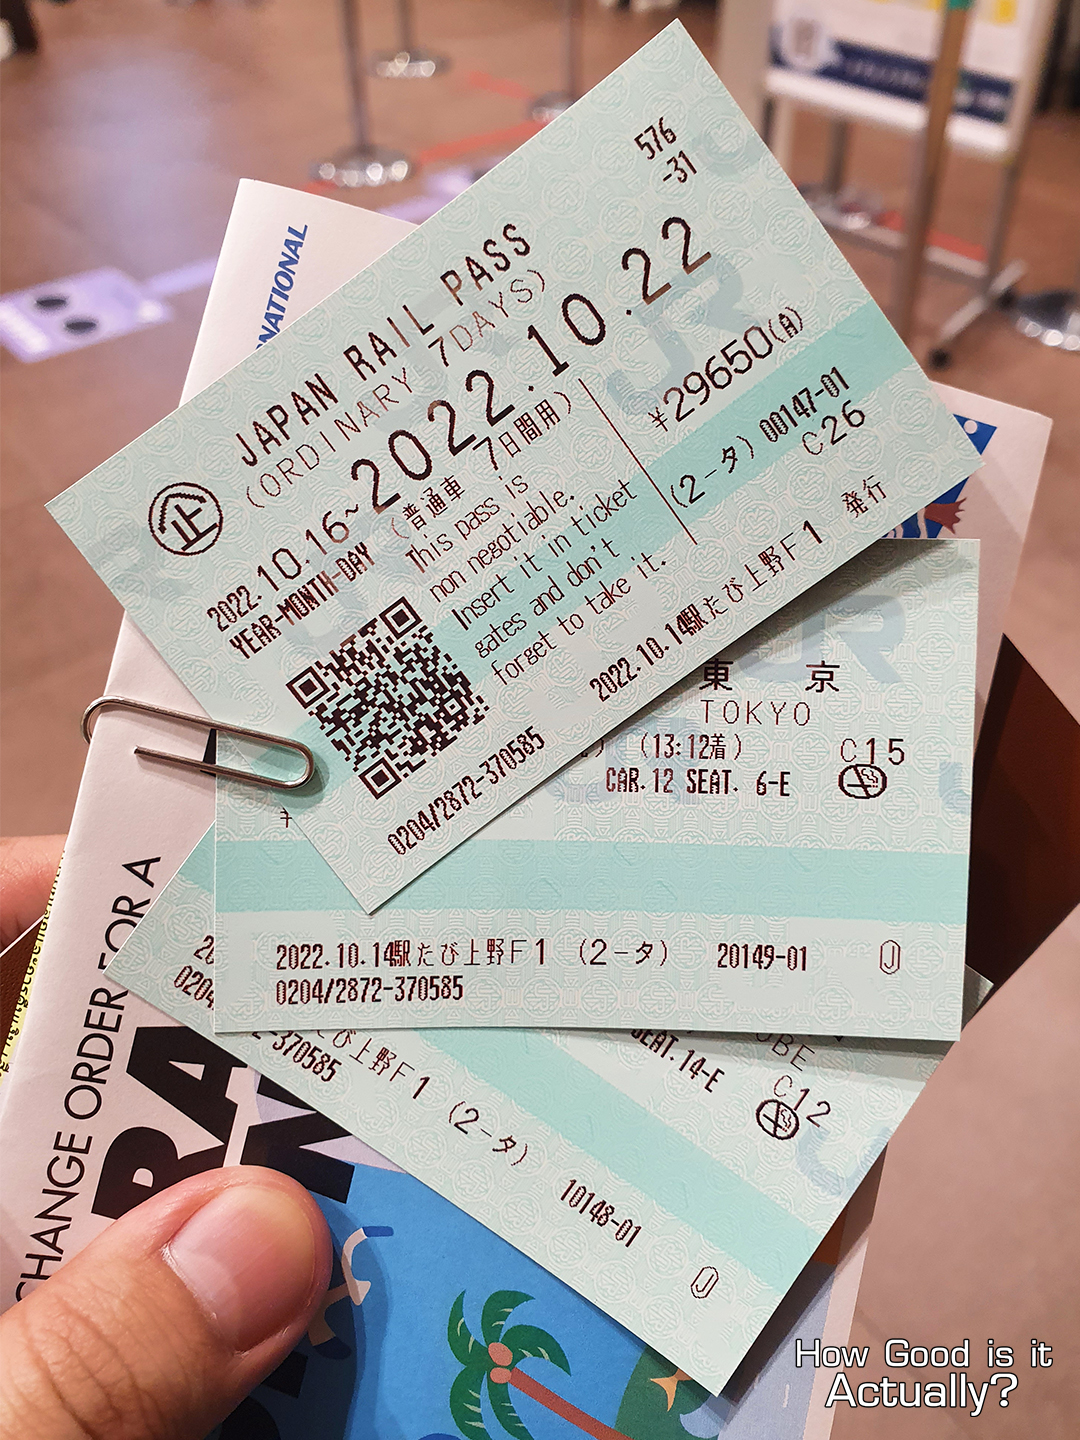
There’s a few ways you can purchase a JR pass, between ordering it online, through a travel agent, and at designated ticket offices in Japan. If you ordered it online or via an agent, you’ll be given a voucher that needs to be exchanged for a real JR Pass once you arrive in Japan.
See where to exchange them here: https://japanrailpass.net/en/exchange.html
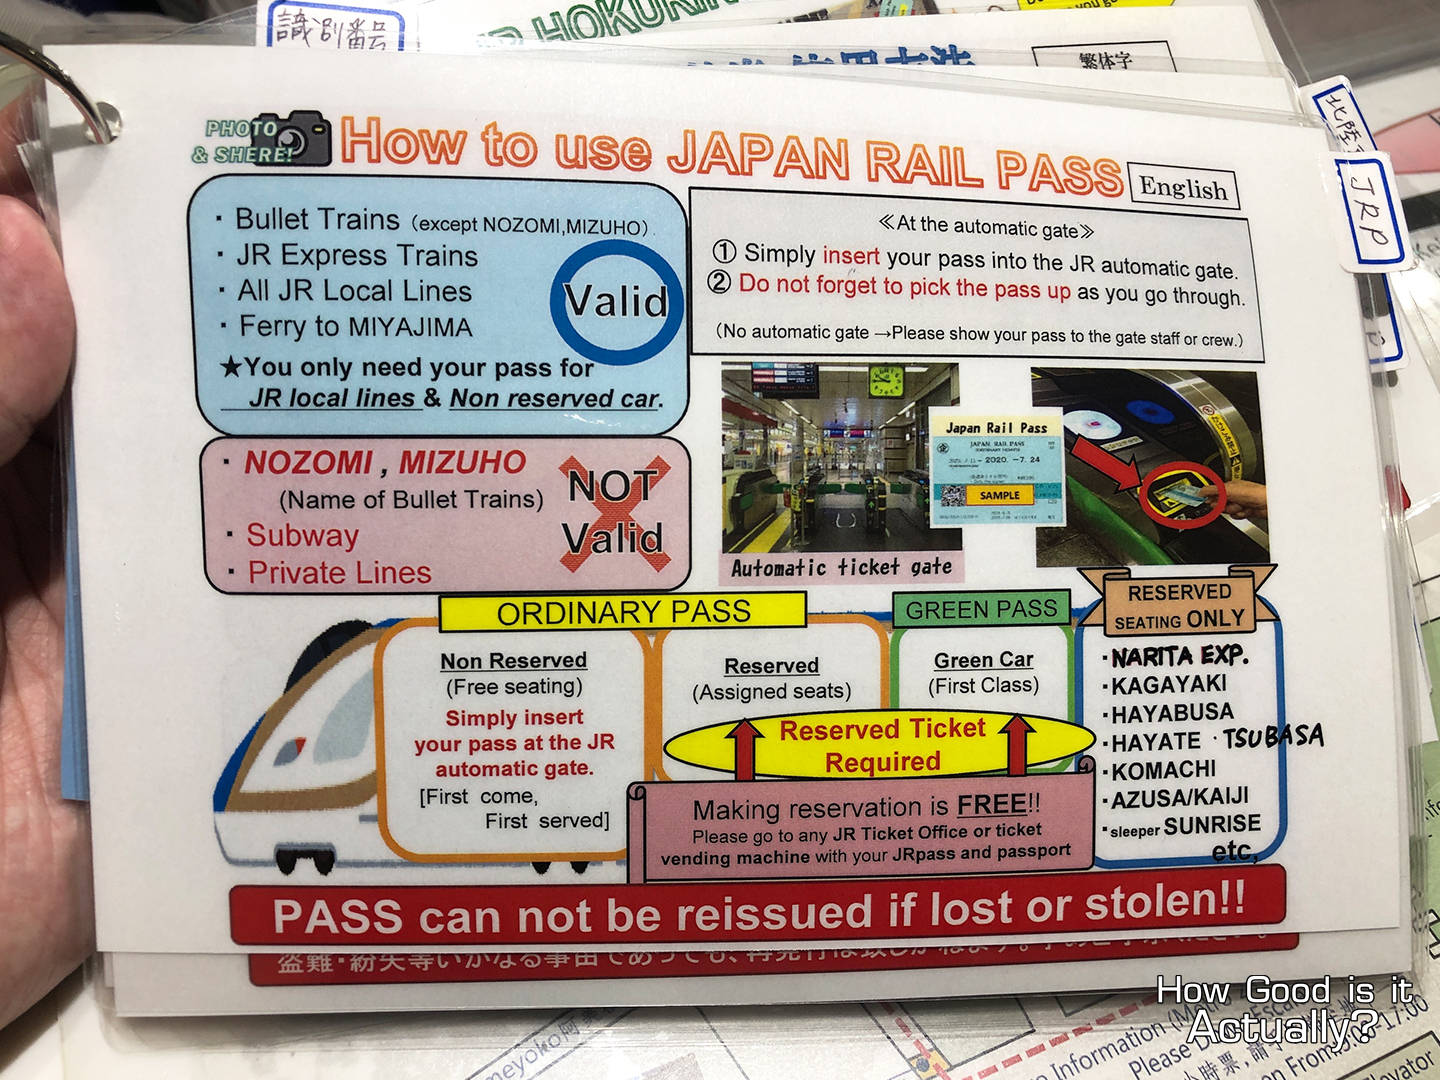
Here’s a quick overview of what the JR Pass can do.
– Unlimited Access to the Shinkansen (except for the Nozomi & Mizuho lines)
– Unlimited Access to JR’s local train lines
– Unlimited Access to the Narita Express (Reservation Required)
__________
💬 Choosing your Shinkansen Train 💬
After receiving your JR Pass, you can either book all your trips right at the exchange counter, or head back later to make those bookings. The earlier, the better, of course, since you can also specify which seats you want as long as it’s available. (Don’t miss out on the view of Mt. Fuji!)
And no need to worry about changing your travel plans later down the line, you can change your ticket details at any time at the JR service counters. (I ended up modifying my Osaka -> Tokyo trip 2 times… )
Shinkansen Timetable: https://global.jr-central.co.jp/en/info/timetable/
And for a quick guide, here how long the Shinkansen ride took for my trips (Using the Hikari Trains)
Tokyo → Shin-Osaka
2 Hours & 54 Minutes
vs 4 hours via plane and up to 9 hours by train or bus
Shin-Osaka → Kyoto
15 Minutes
vs 29 minutes via the Tokaido-Sanyo Line
Shin-Osaka → Kobe
12 Minutes
vs 30-40 minutes via the Hanshin Line
__________
__________
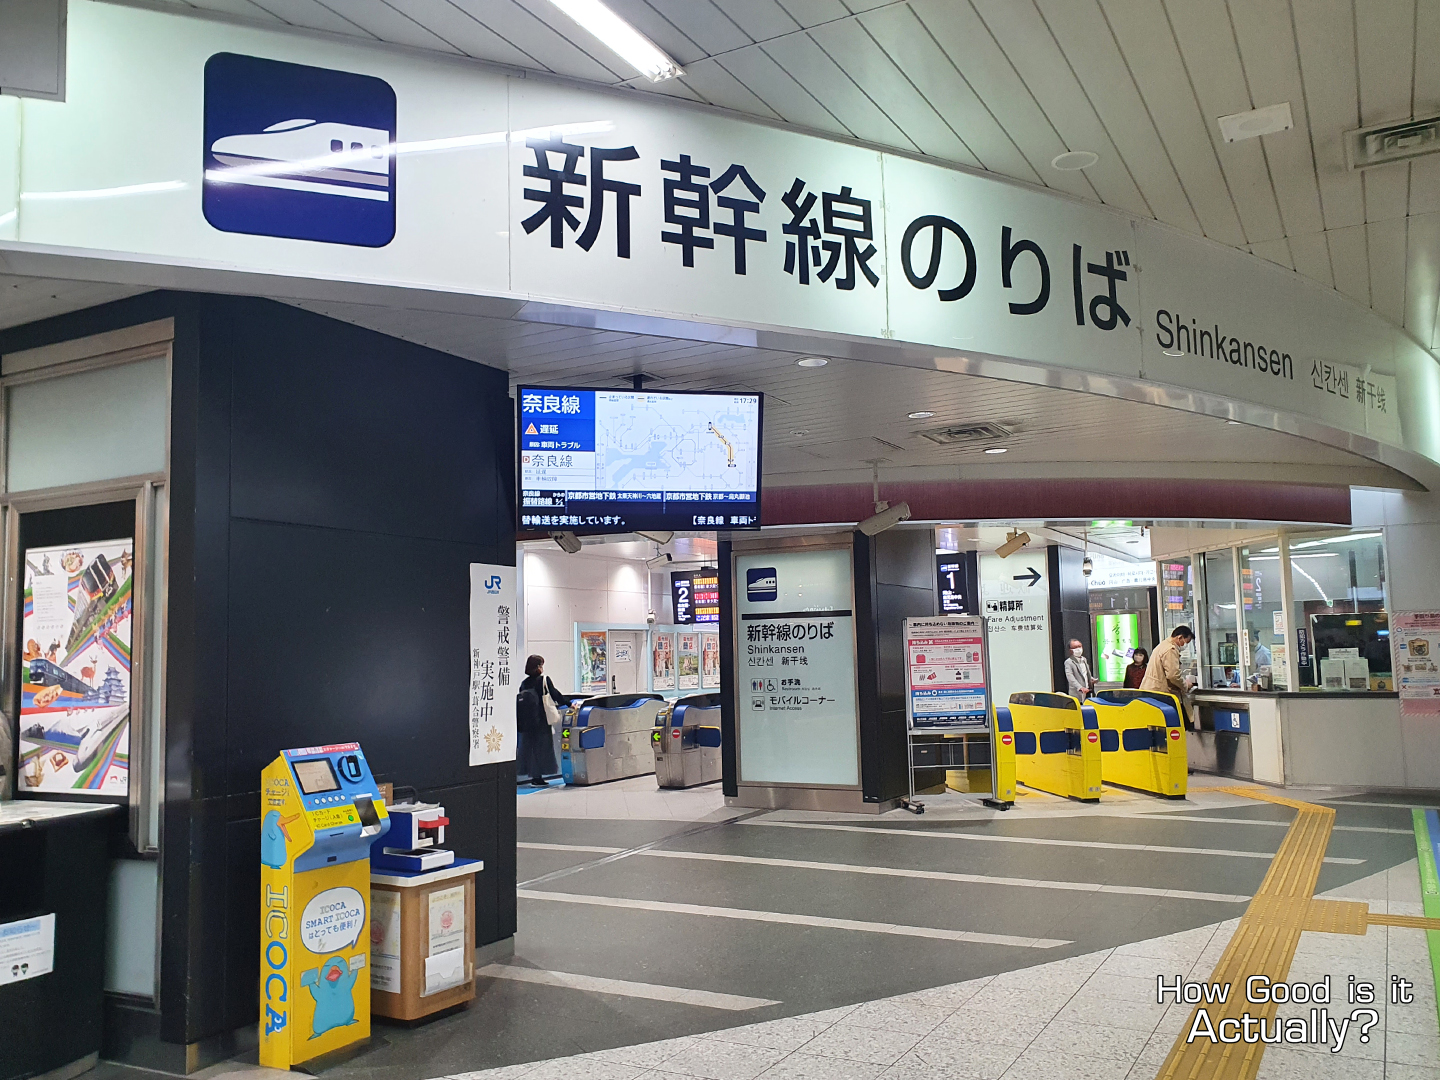
🚆 Departing from Tokyo Station 🚆
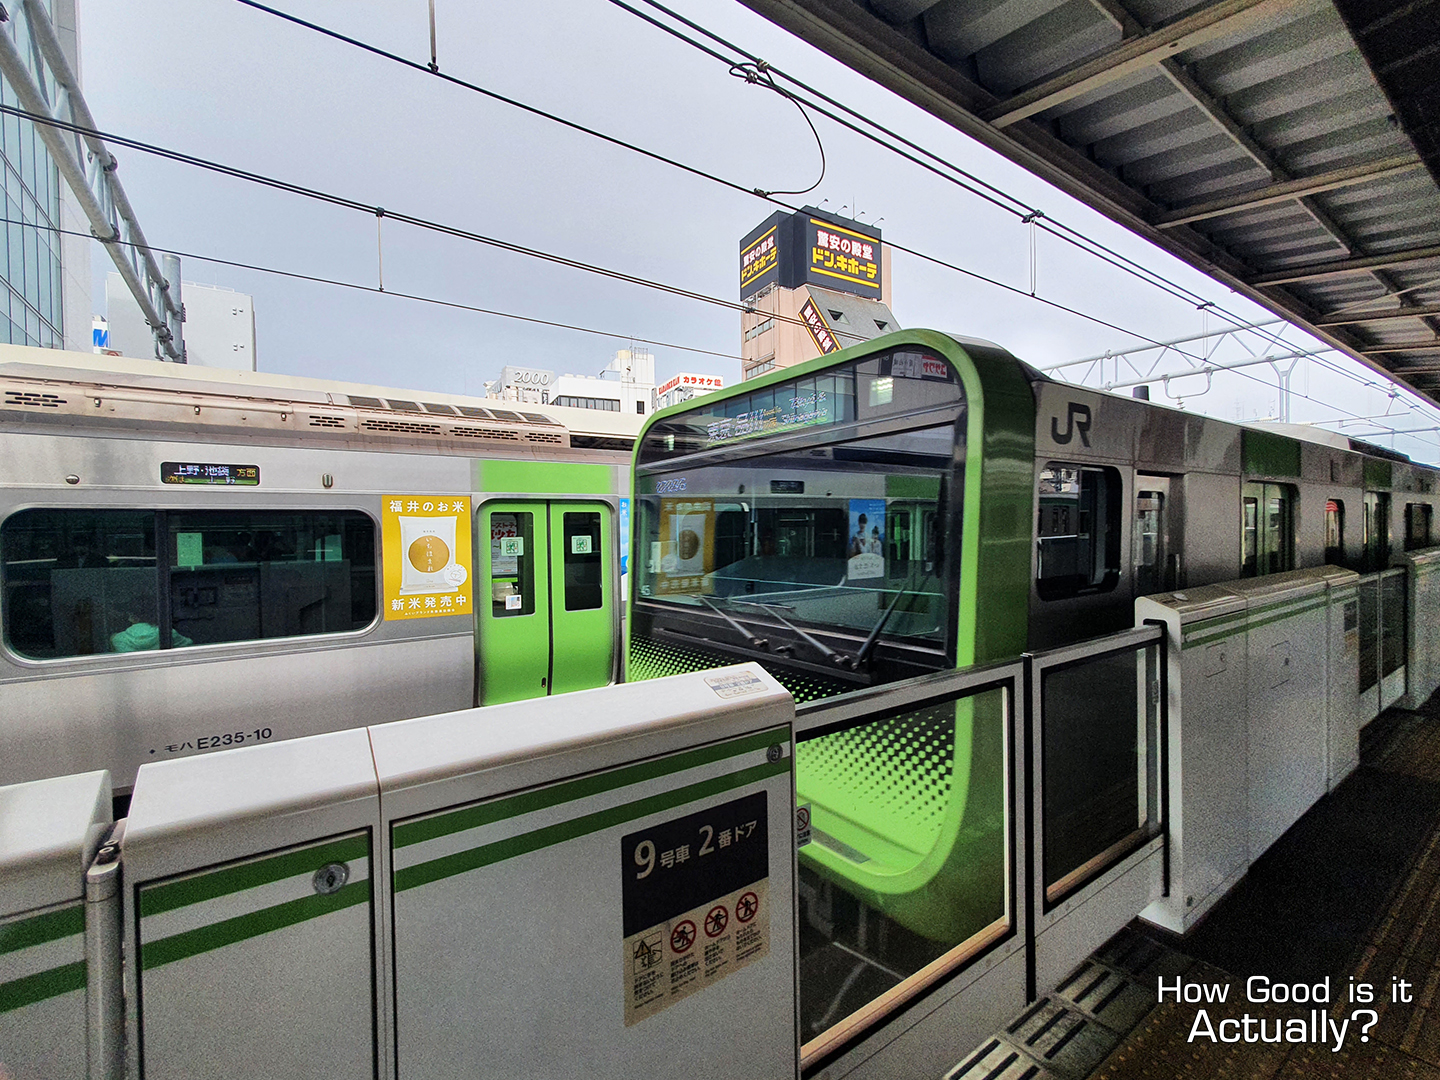
As I’m meeting a friend over at Kobe for some lunch, my day started off rather early in the morning. After checking out from the hotel, I made my way towards the JR Line at Okachimachi Station – bound for Tokyo JR Station.
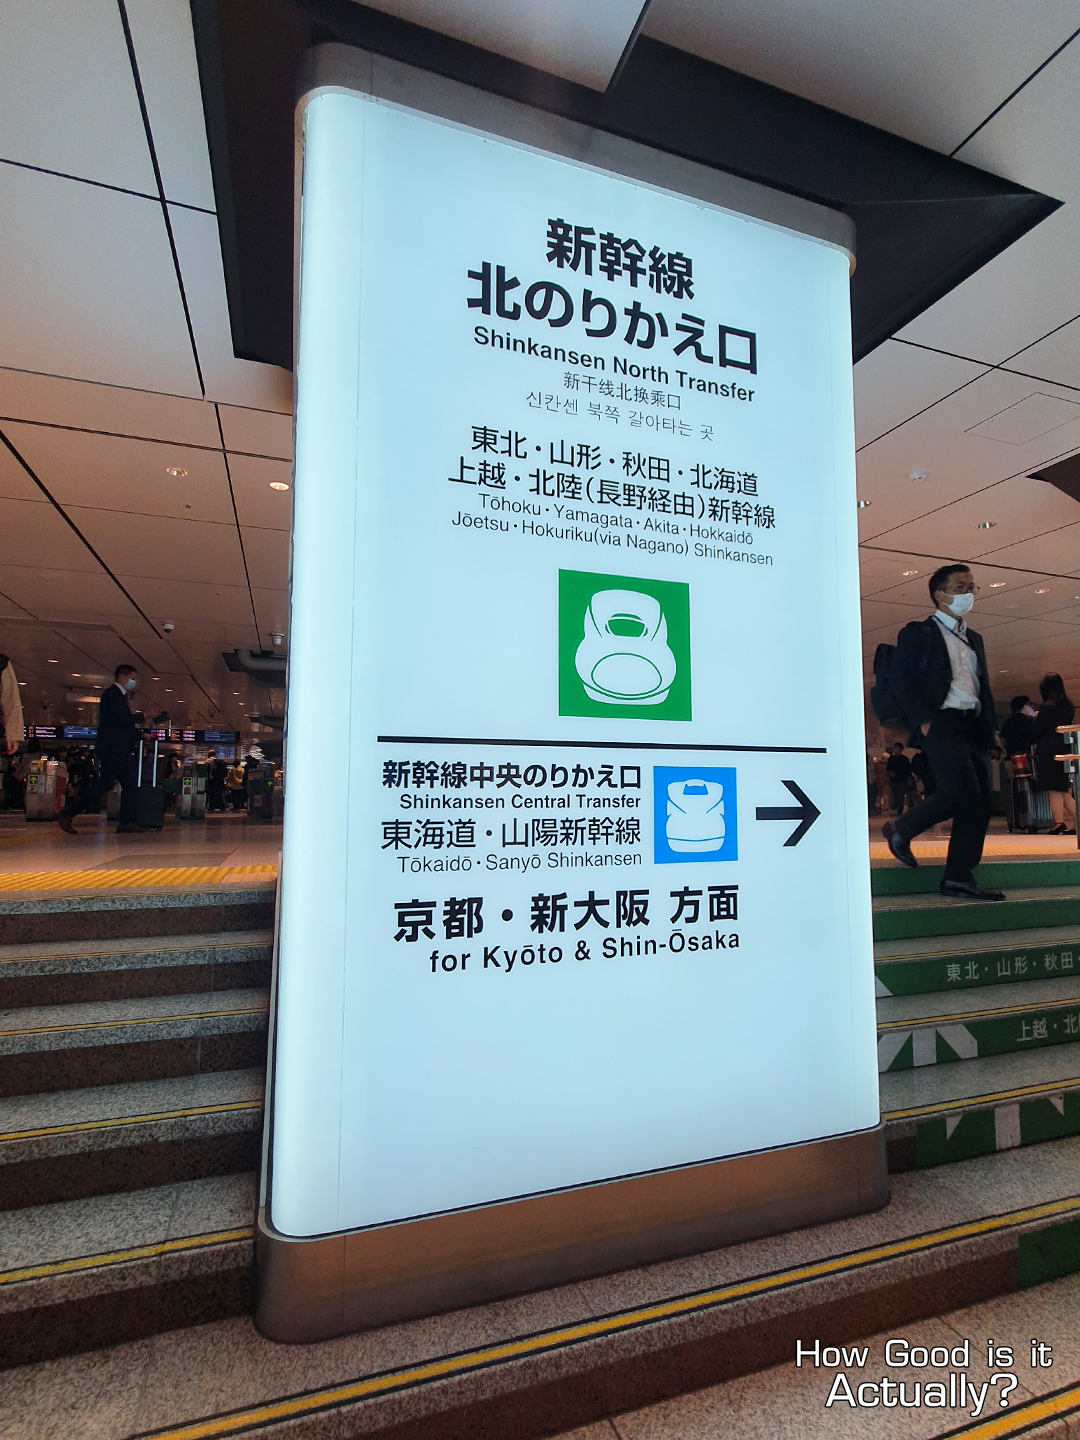
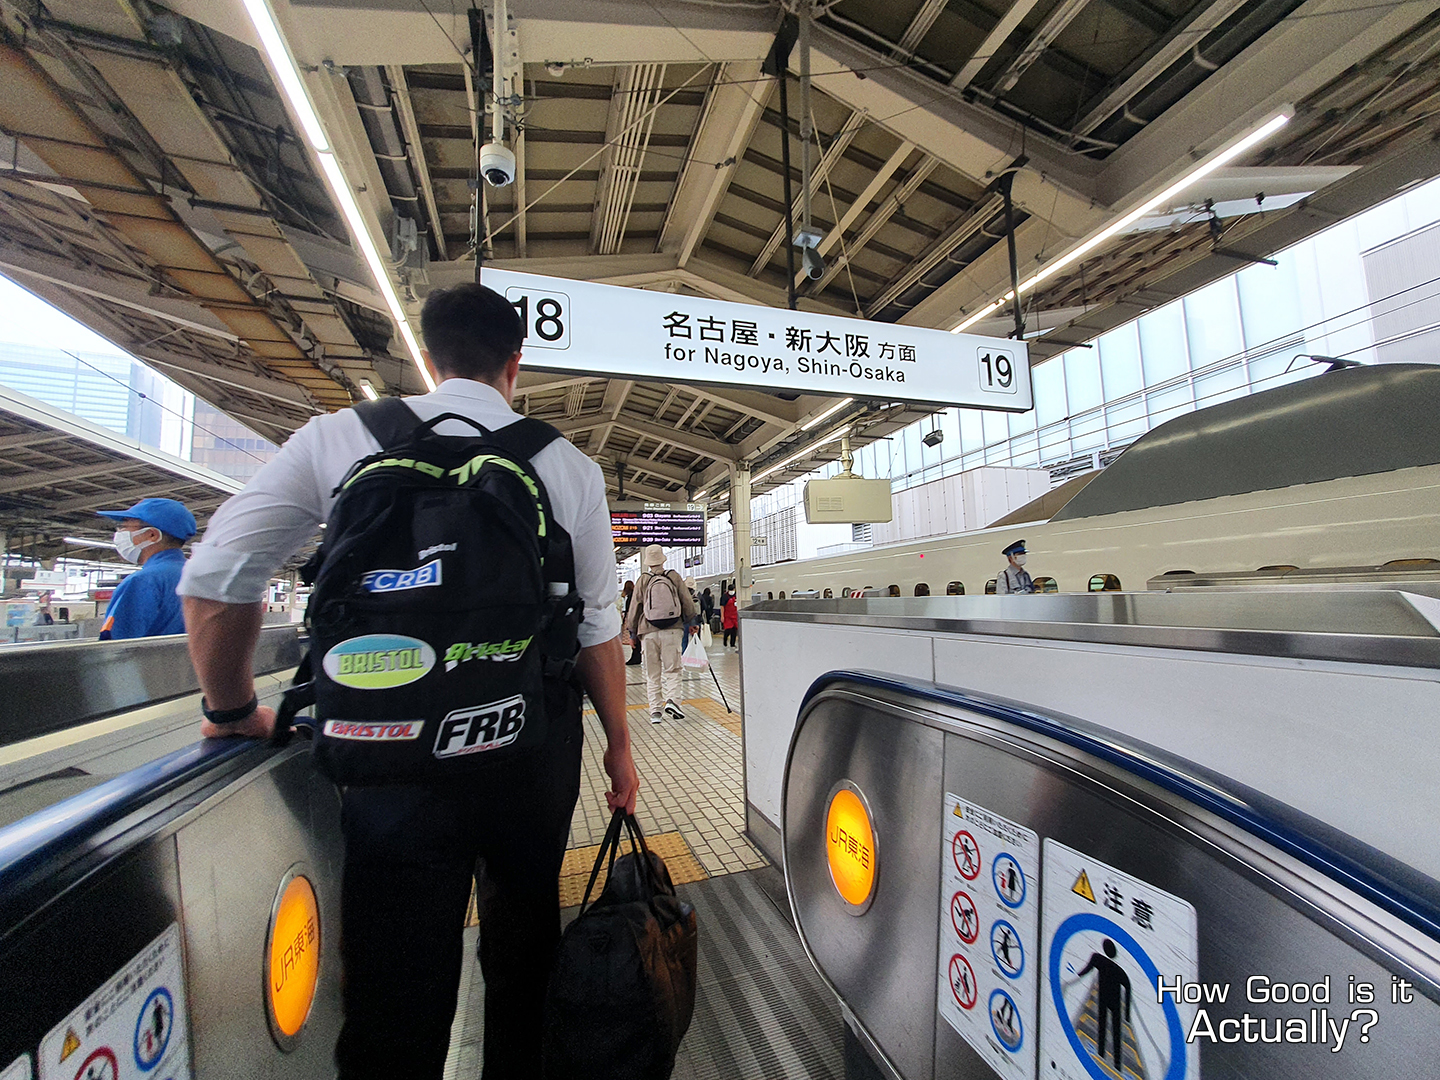
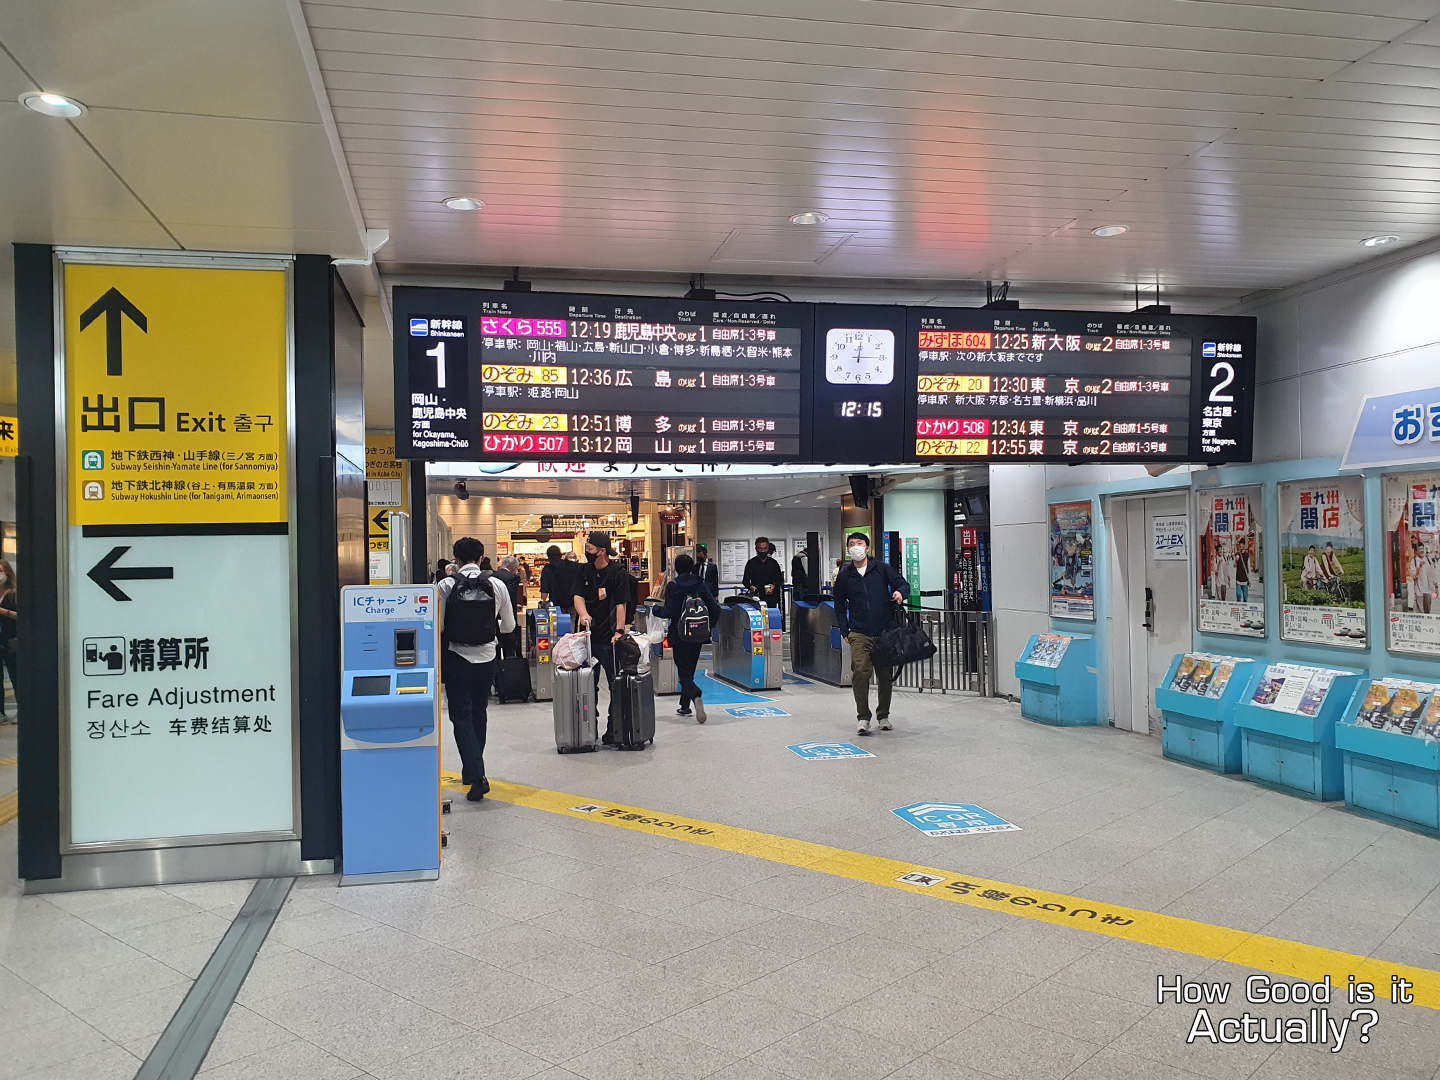
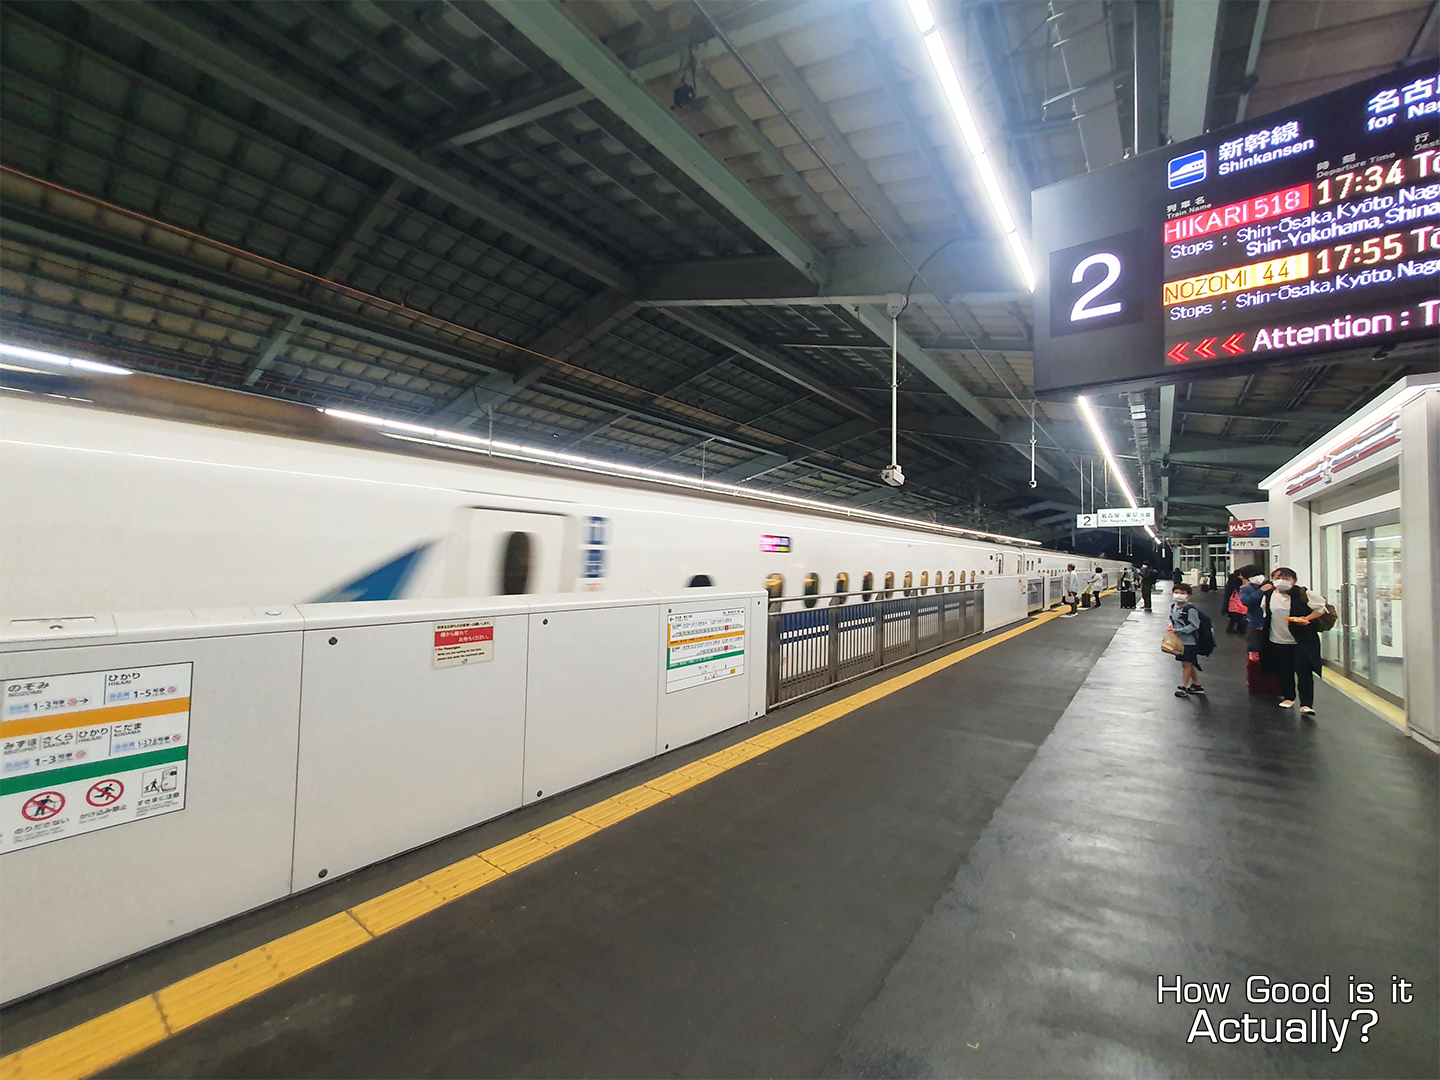
Once you’re at Tokyo Station, head over to the Shinkansen North Transfer Area, and insert your JR Pass at the ticket gate.
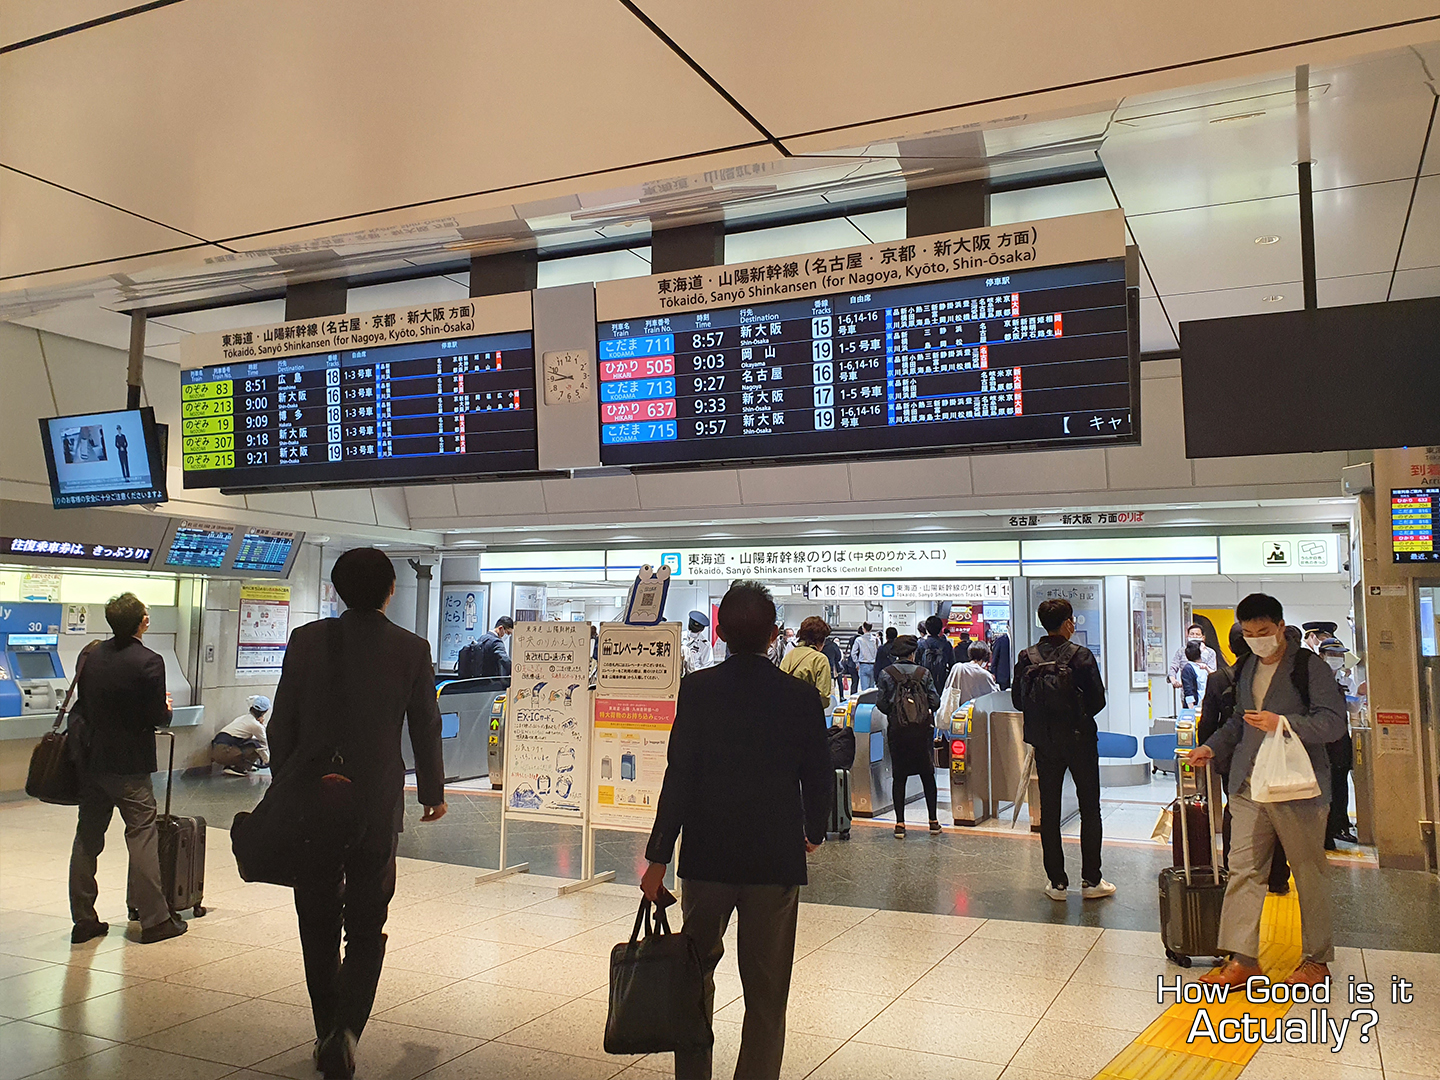
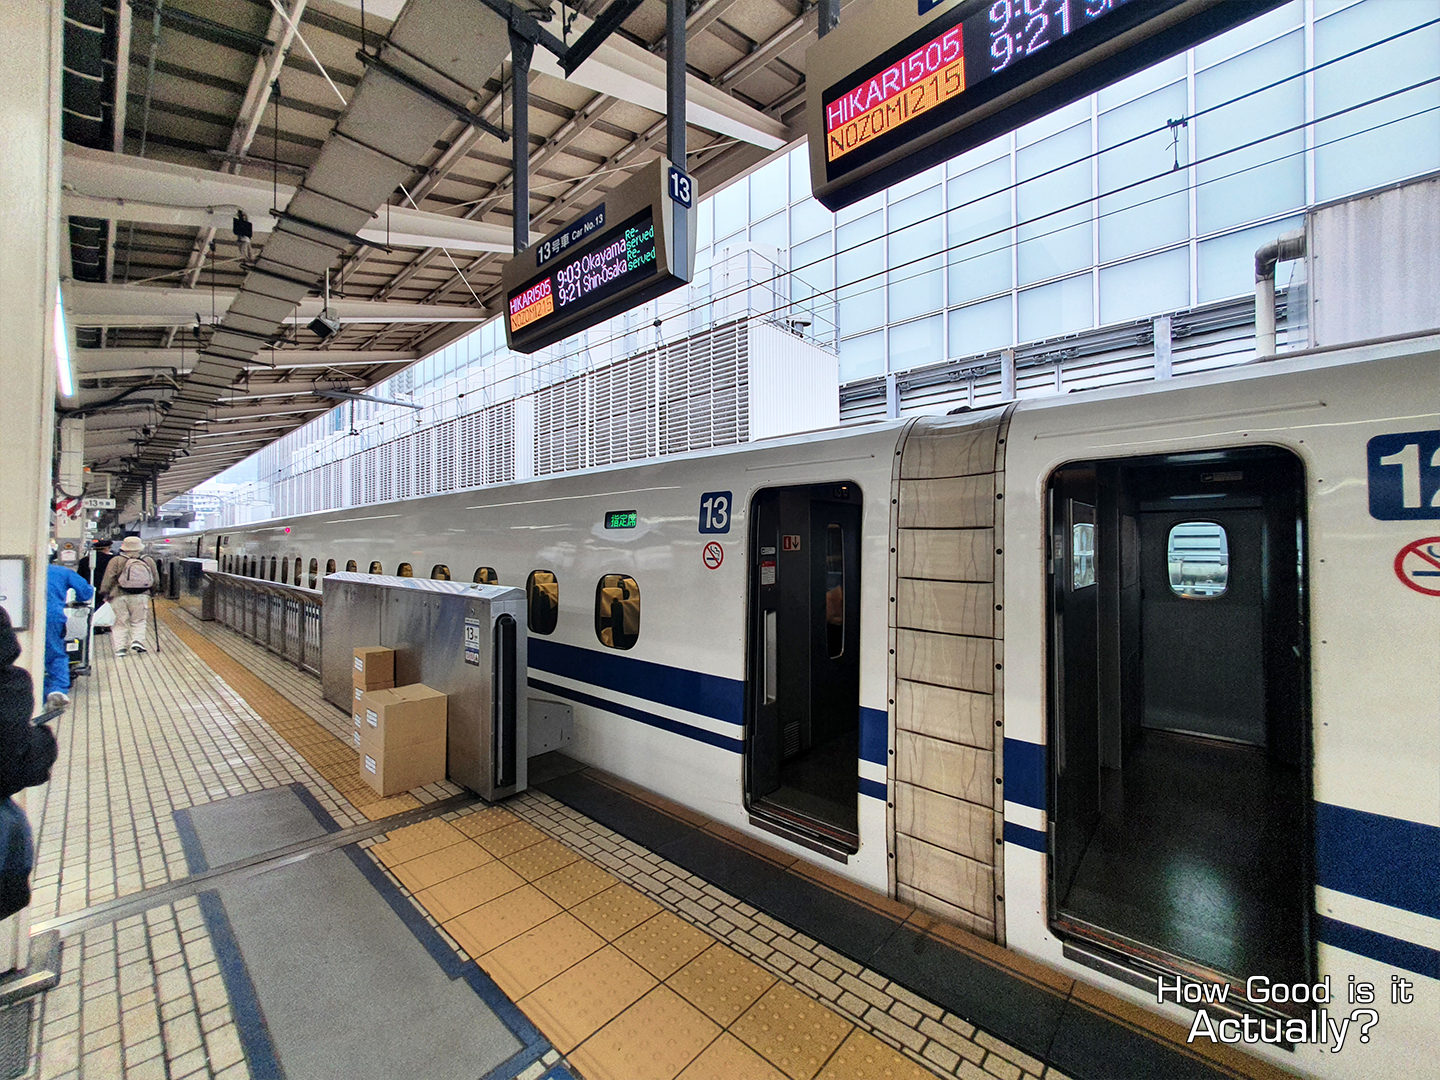
Find out which platform your train is at on the display monitor, and make your way there. As a rule, the Shinkansen (like Japan’s other rail services) arrives and leaves exactly on time, so be sure to not show up late.
__________
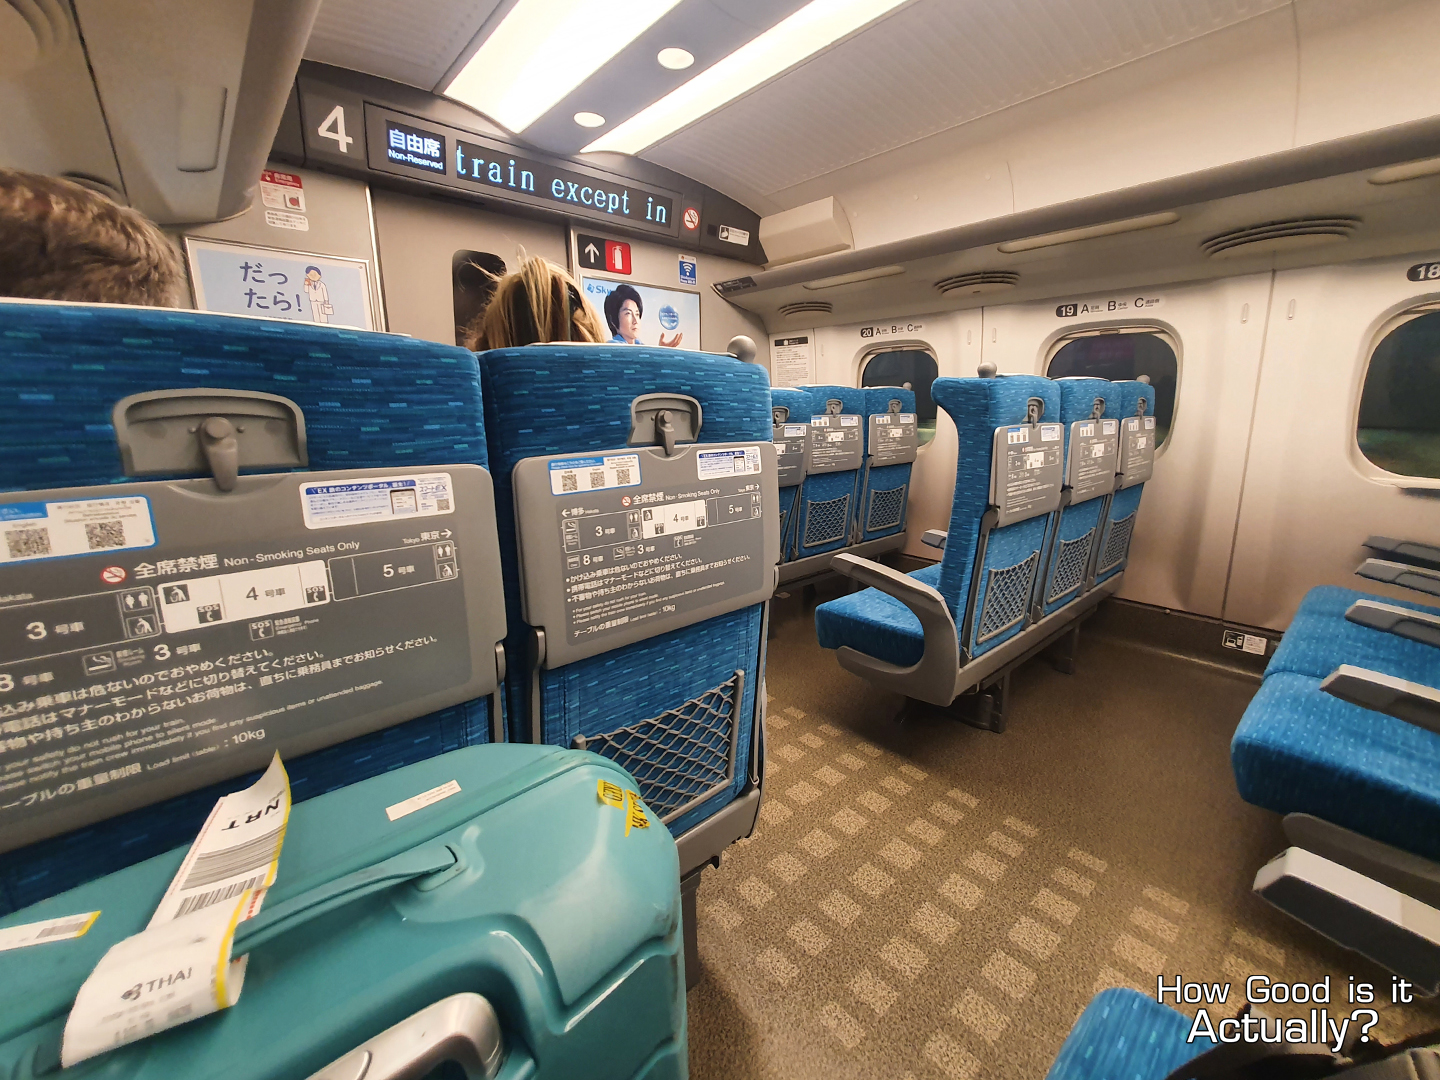
🚅 Shikansen Overview 🚅
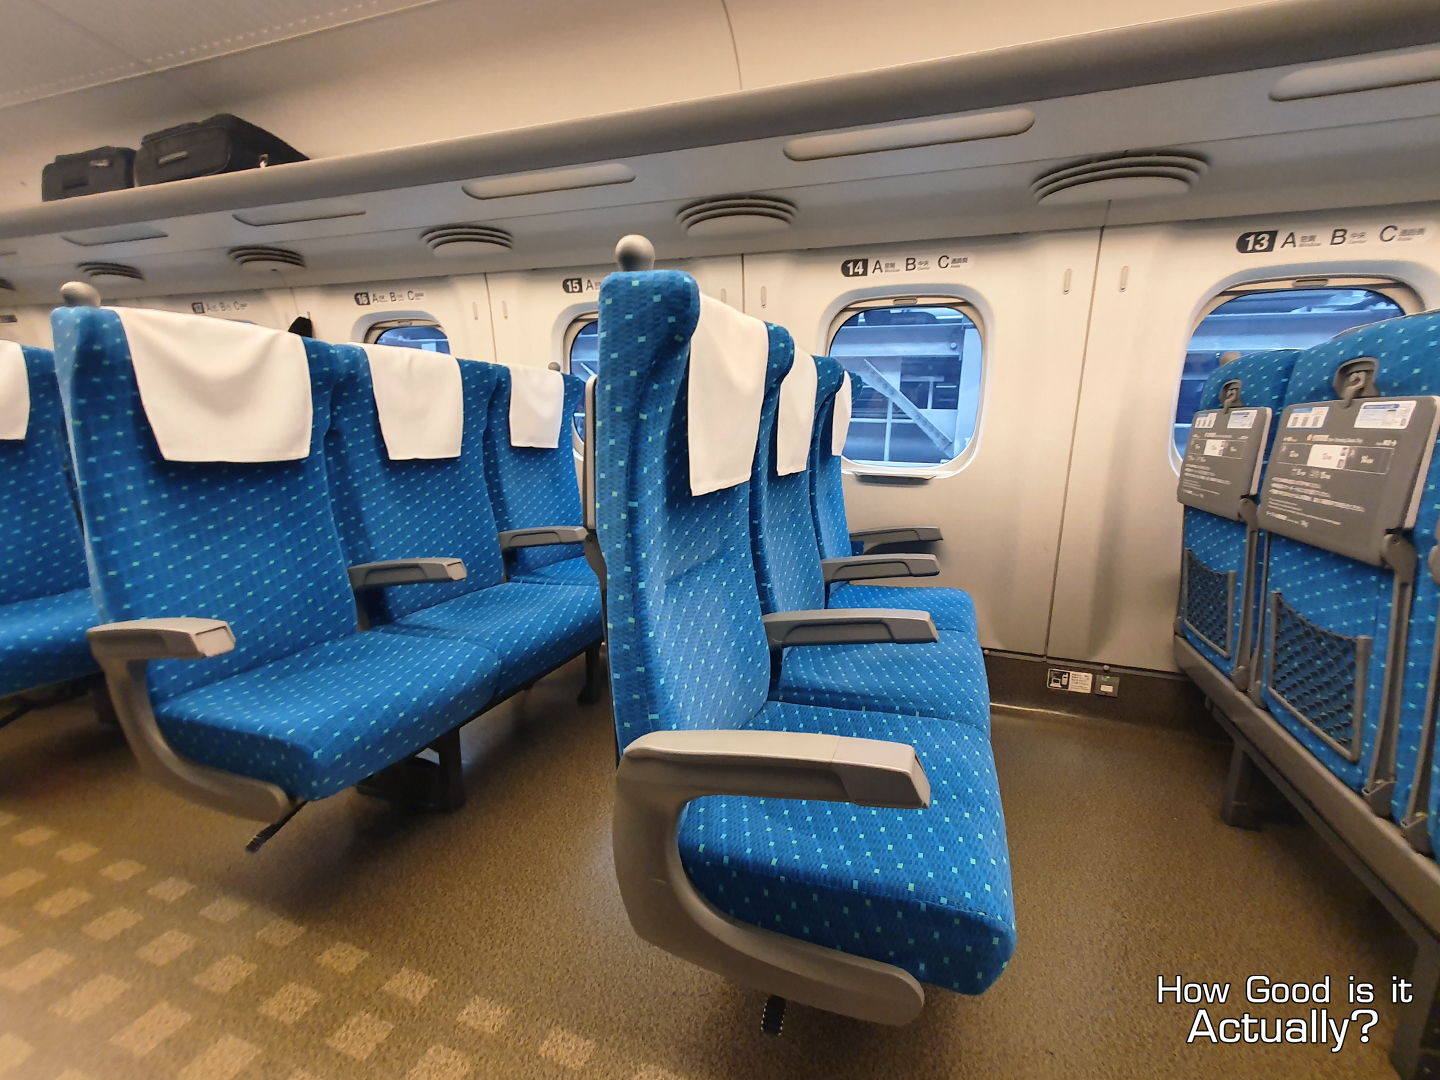
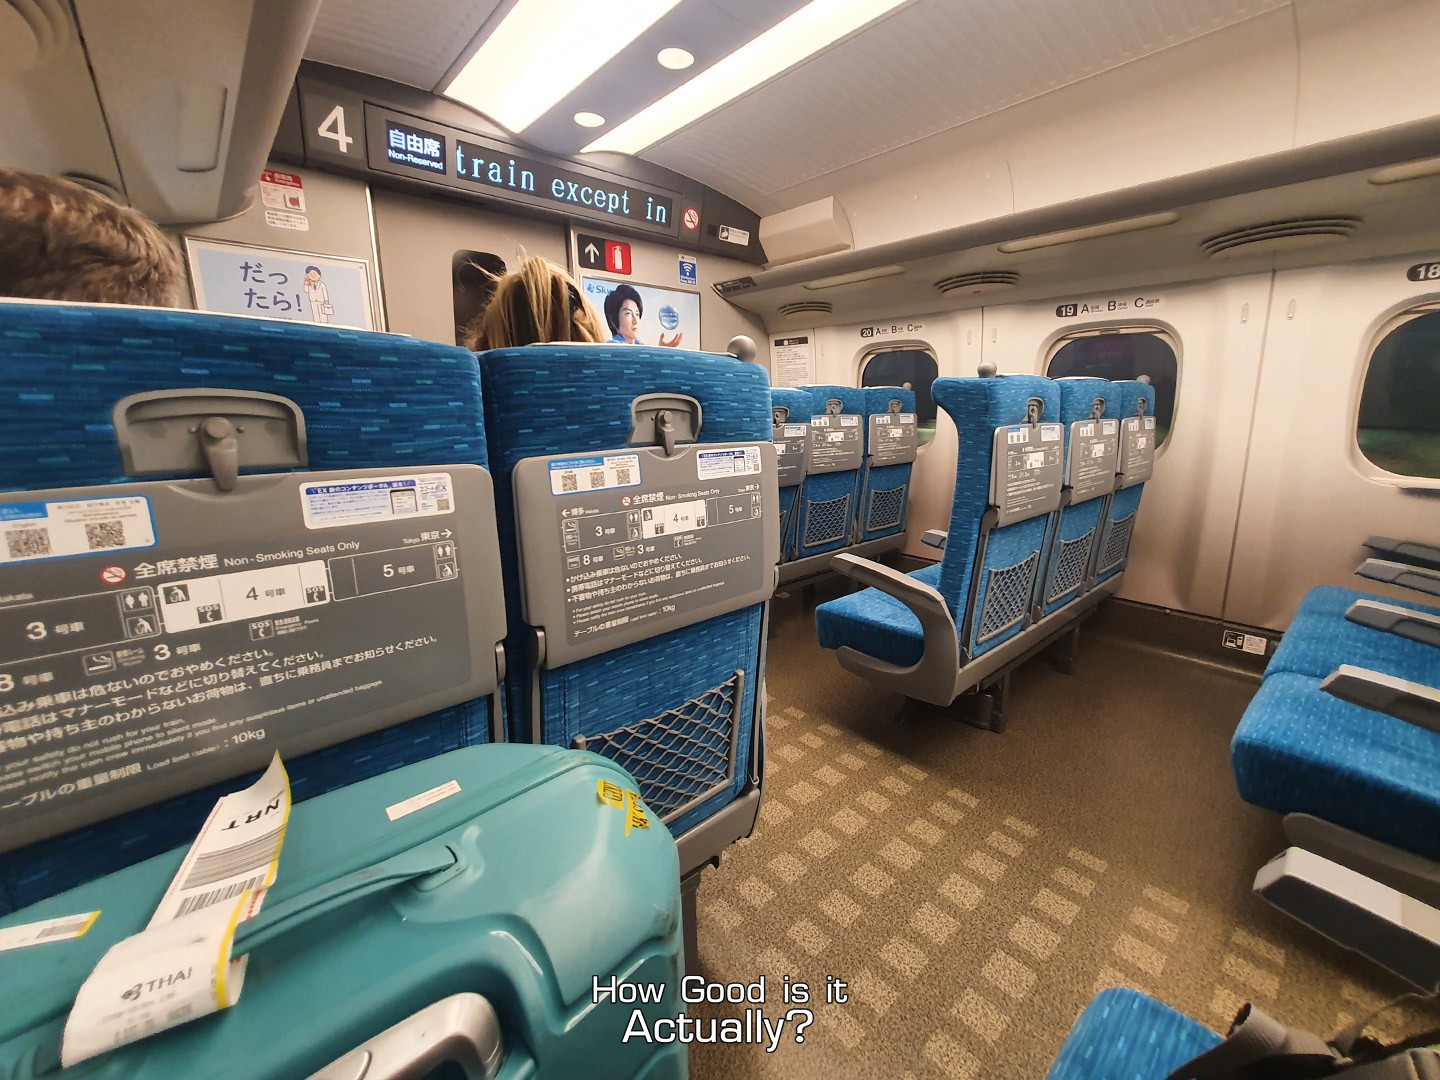
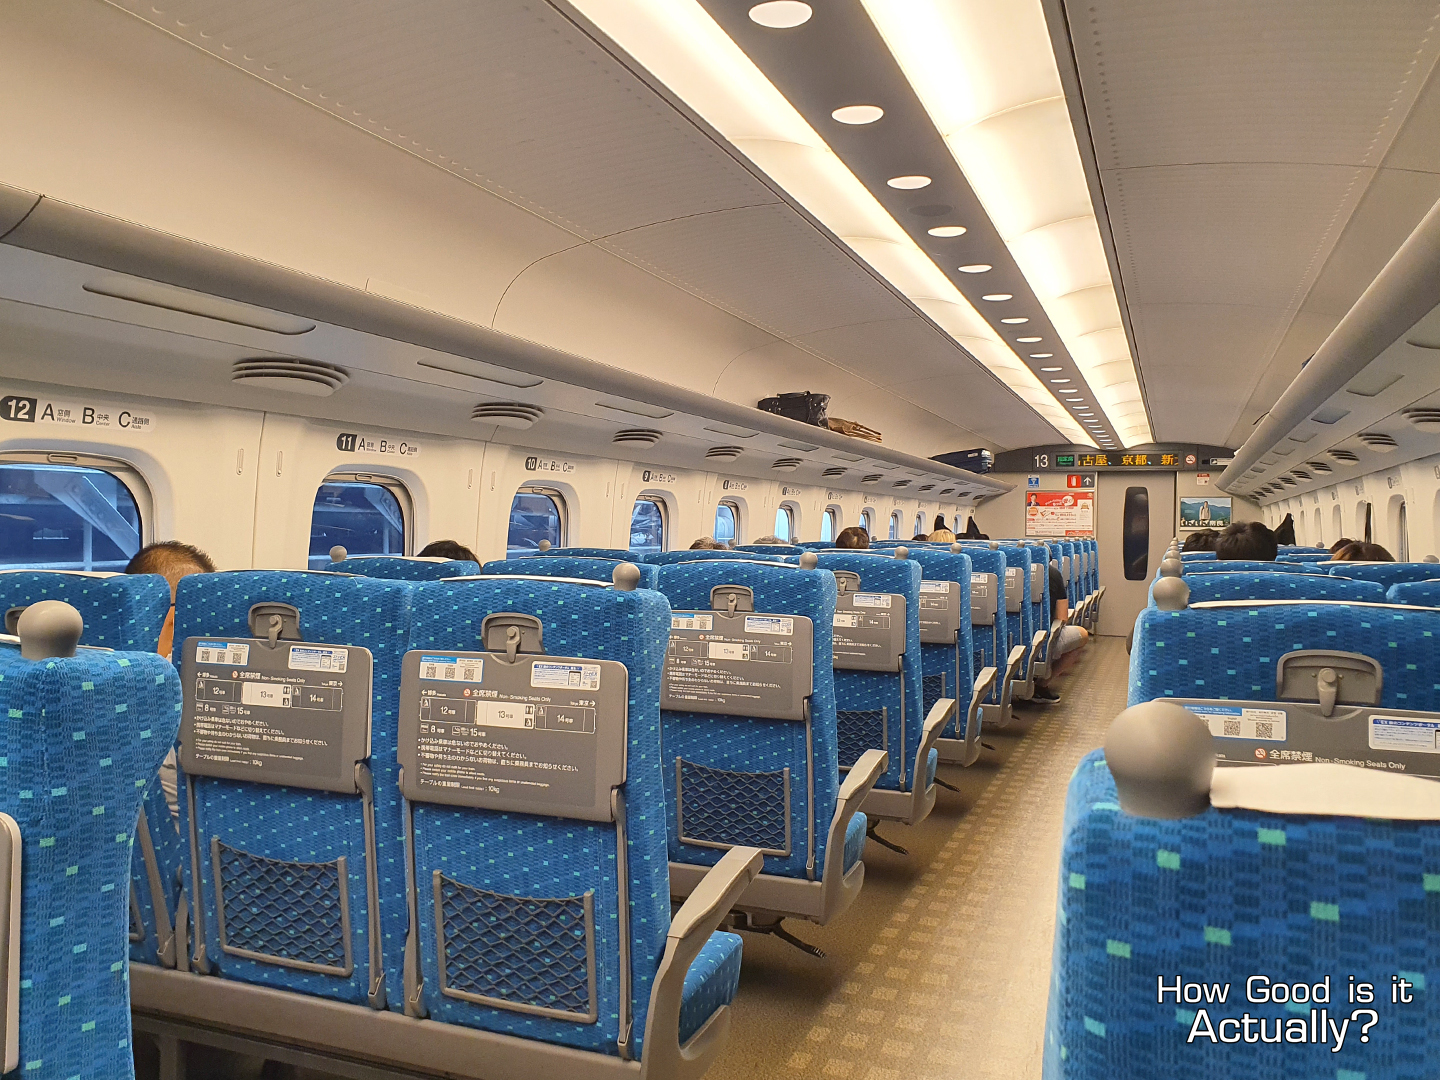
Now that I’m on the Shinkansen, the first thing I noticed right away was just how spacious the seats were.
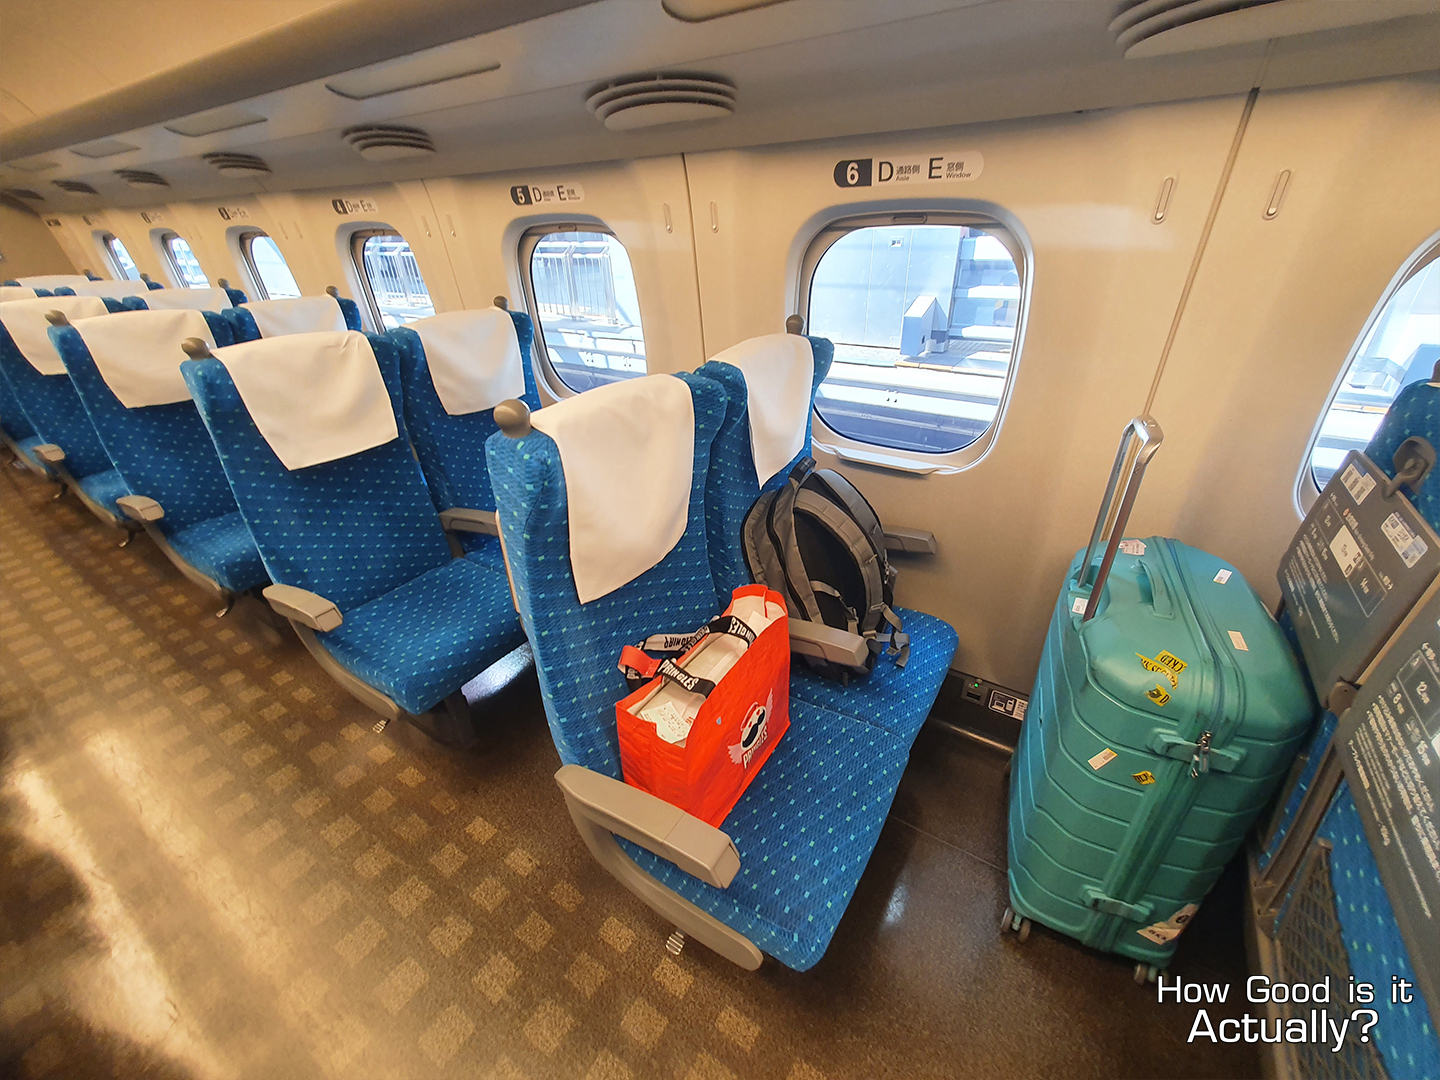
It’s designed to accommodate a person + a medium size luggage, so if you’re travelling light, you have all the space you need. If you’re like me and are travelling with a medium-large luggage, the experience is a bit more cramped, but still spacious enough to still be a comfy ride.
Regarding your luggage, the Shinkansen has a few options for storage. If the luggage is on the smaller end, you can store them by the overhead shelf above your seat. For medium luggage, you can place it in front of your seat at the cost of some leg room.
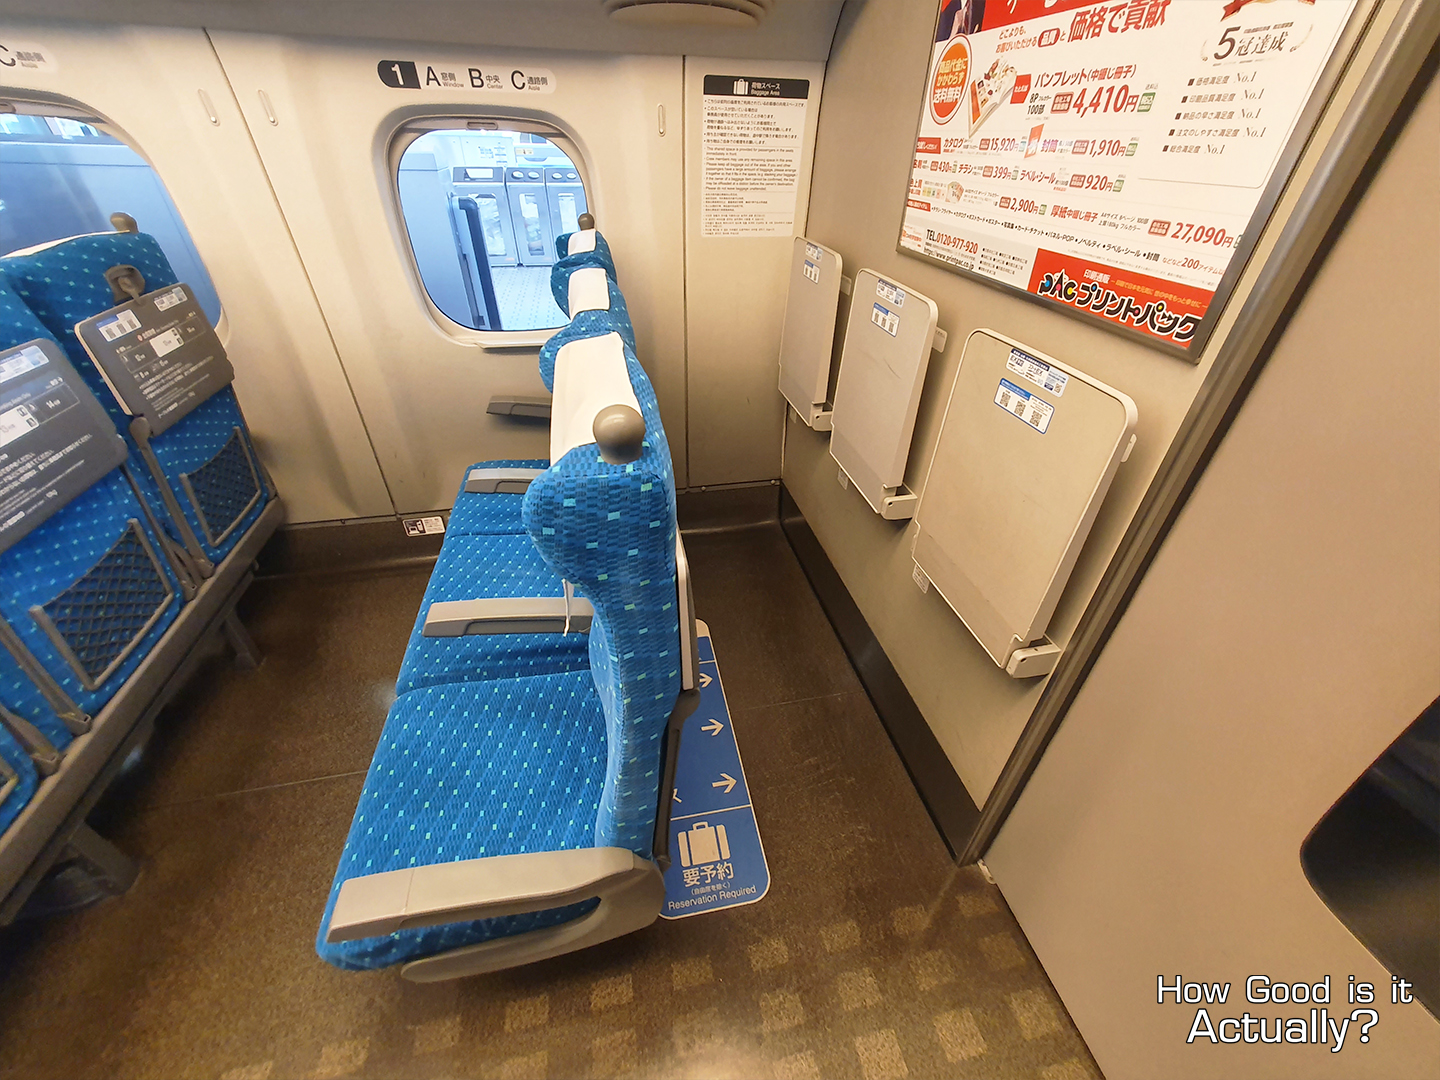
But if you want the maximum space possible when travelling with a medium to oversized luggage, consider reserving an Oversized Baggage seat (free, but requires a reservation).
These are seats at the back of each train with a dedicated space behind your seat to place your luggage in. As a general rule, anyone can reserve the Oversized Baggage seats, but it’s required if your luggage dimensions go over 160cm.
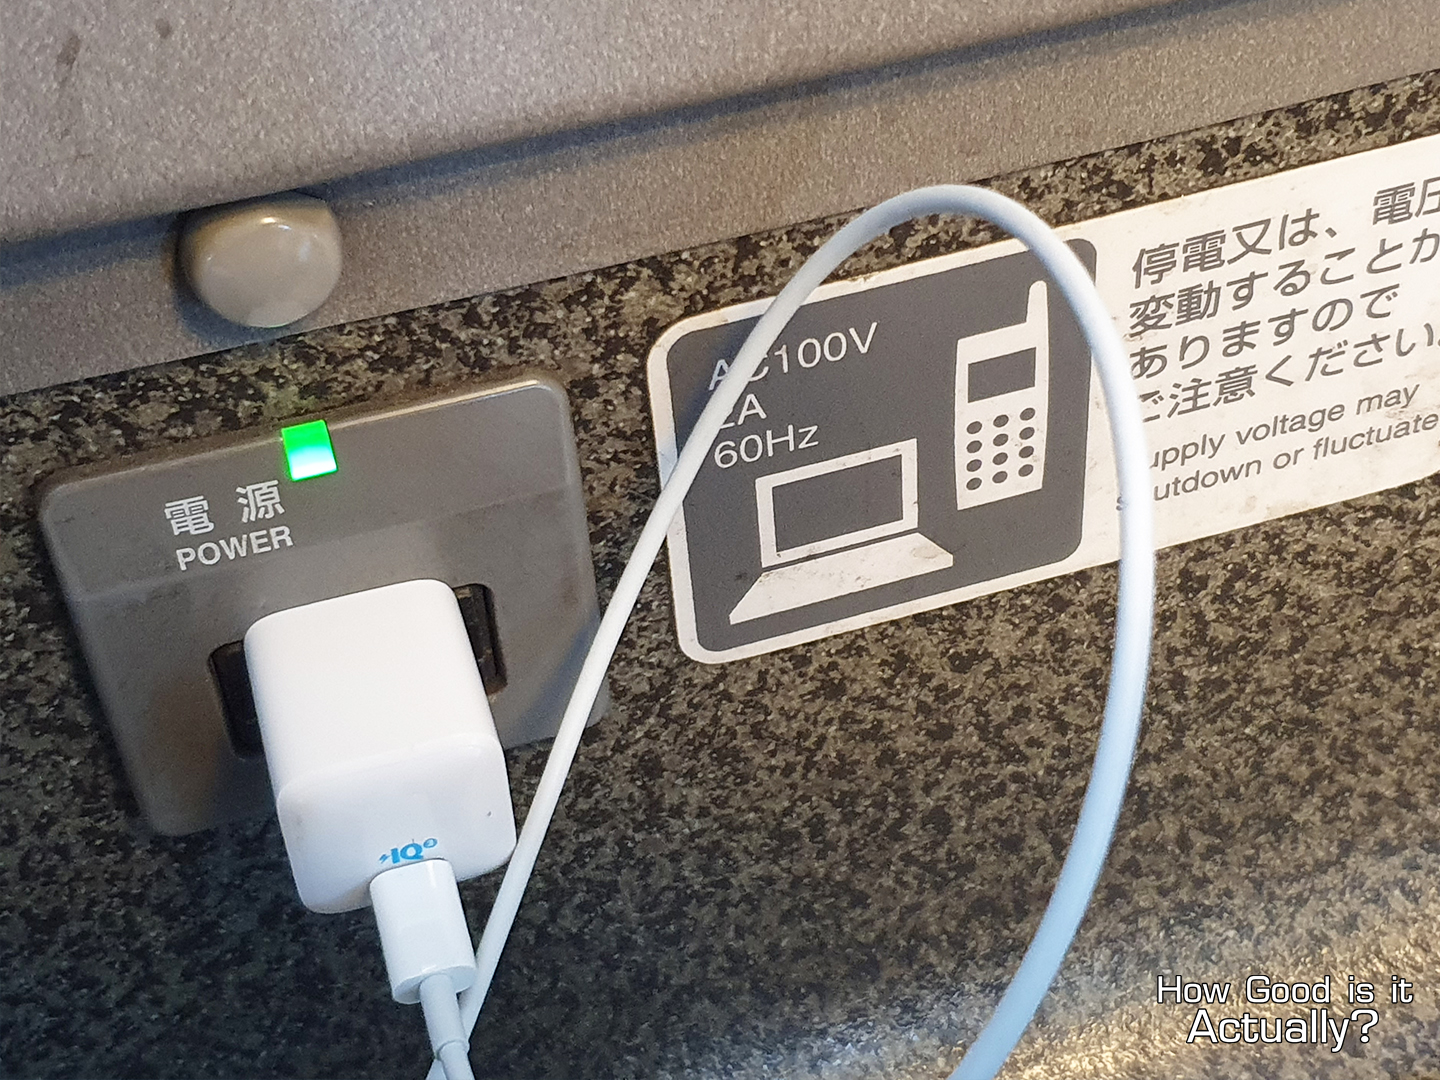
If you’re sitting by the window seat, there’s also a power socket for you to plug in your device during the ride.

And as for the free internet on the Shinkansen, based on my experience, it’s quite nice overall, with a few minutes of deadzones on the more rural areas of the trip.
__________
__________
🗻 Mt. Fuji 🗻
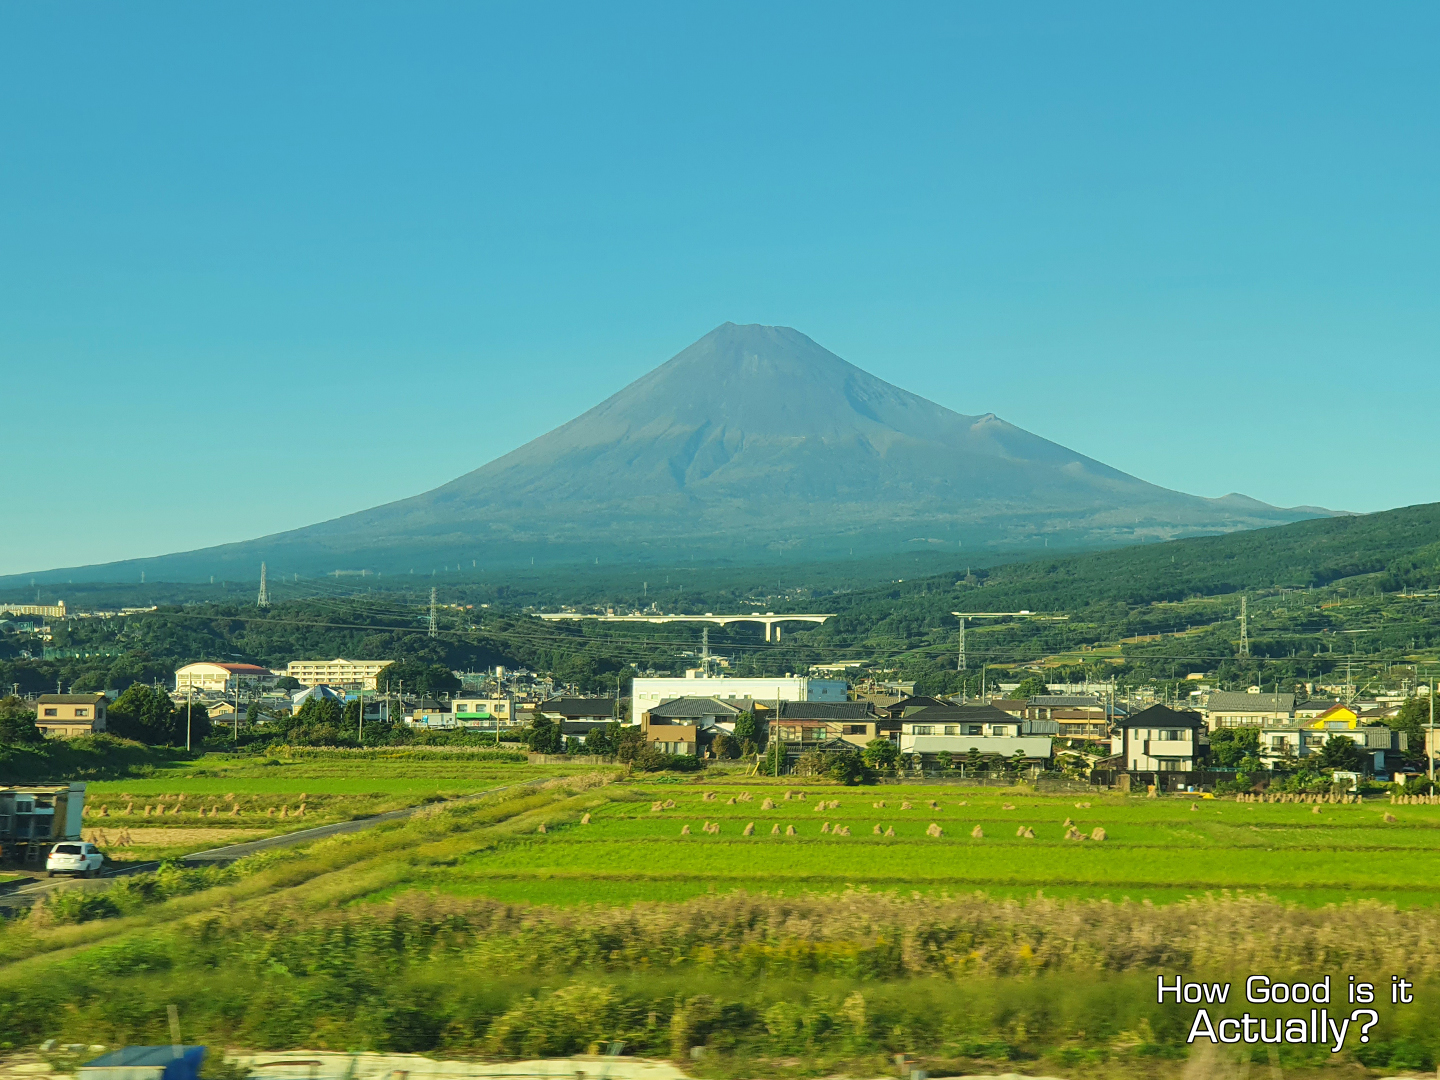
Mt. Fuji, Japan’s highest mountain and iconic symbol. Take one look at the Shinkansen’s route and you’ll immediately realize that the trains will pass by Mt. Fuji as you travel from Tokyo to Osaka.
Yeah, despite Mt. Fuji being one of the main photo opportunities of the ride, I had no idea that we were passing by it during my trip to Osaka. I did redeem myself, thankfully, on the ride back to Tokyo, and I at least have some first-hand info on where to sit to get the full view.
🗻 If your train is heading westward (Tokyo → Osaka), Mt. Fuji will be on the right side of the train.
🗻 If the train is heading eastward (Osaka → Tokyo), you can find Mt. Fuji on the left side.
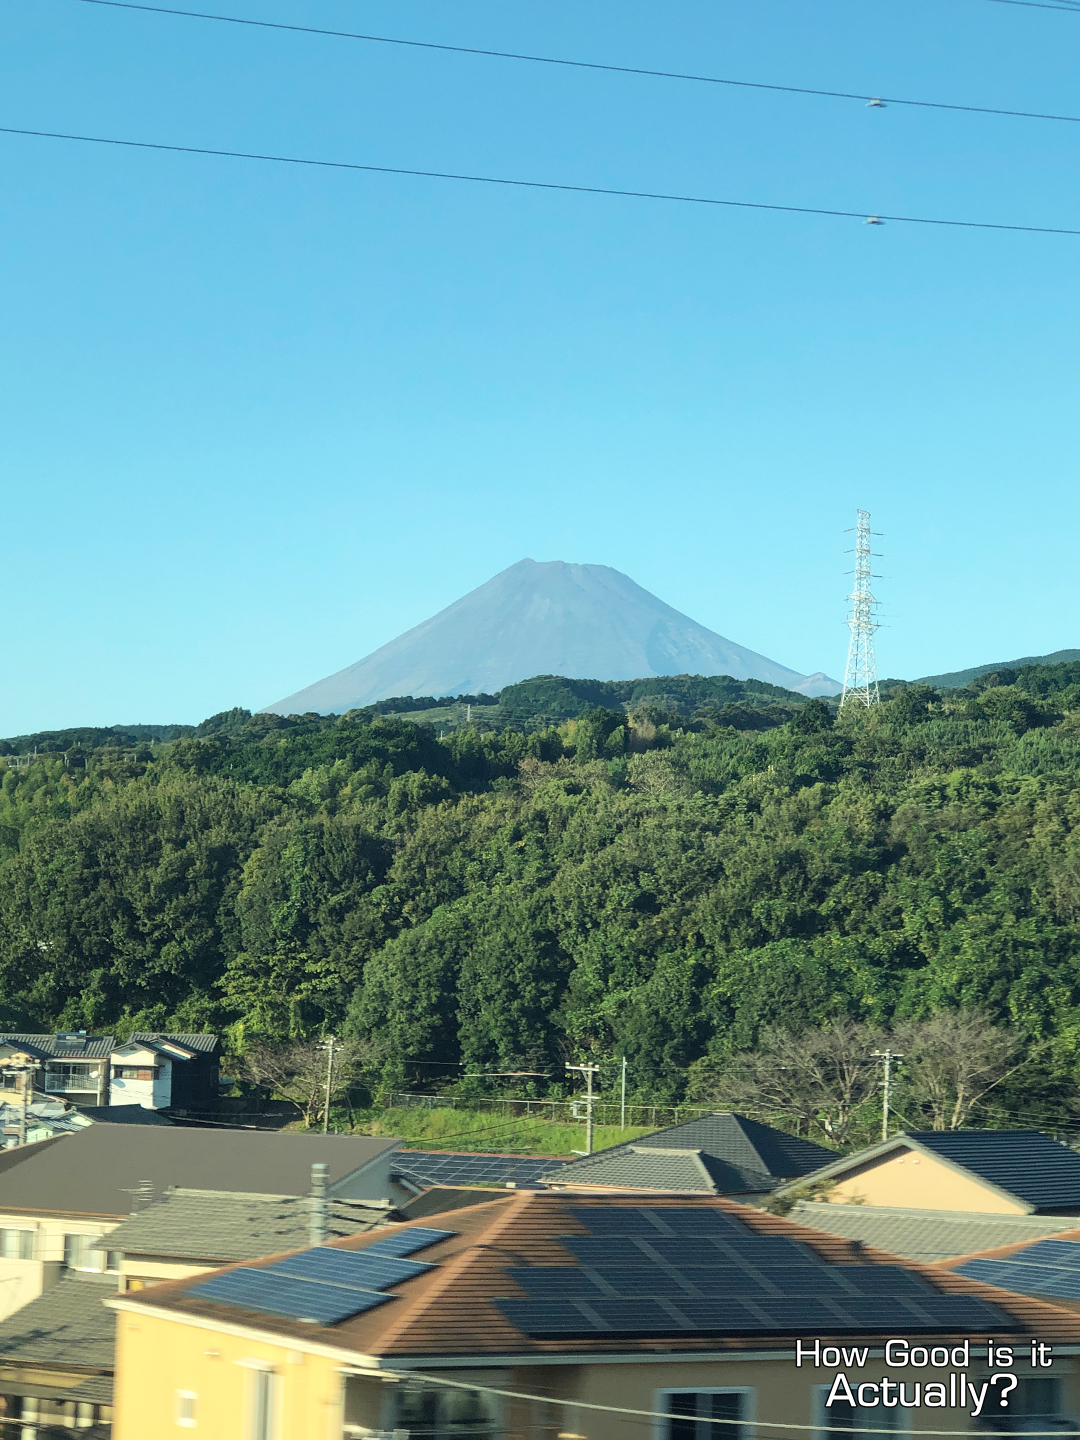
Side note: So even on my way back to Tokyo, I still had no idea the Shinkansen would pass by Mt. Fuji. I was taking some photos of the scenery for this review and this large mountain started to appear over the horizon. Maybe the surprise factor affected my perspective, but Mt. Fuji really left a lasting impression on me for the whole trip.
If you’re taking the Shinkansen from Tokyo to Osaka, learn from my initial blunder and make sure to have a look at the view. Mt. Fuji will be visible about 40 minutes in from Tokyo, and 2 hours in from Osaka.
__________
🚆 Arrival at Shin-Kobe Station 🚆
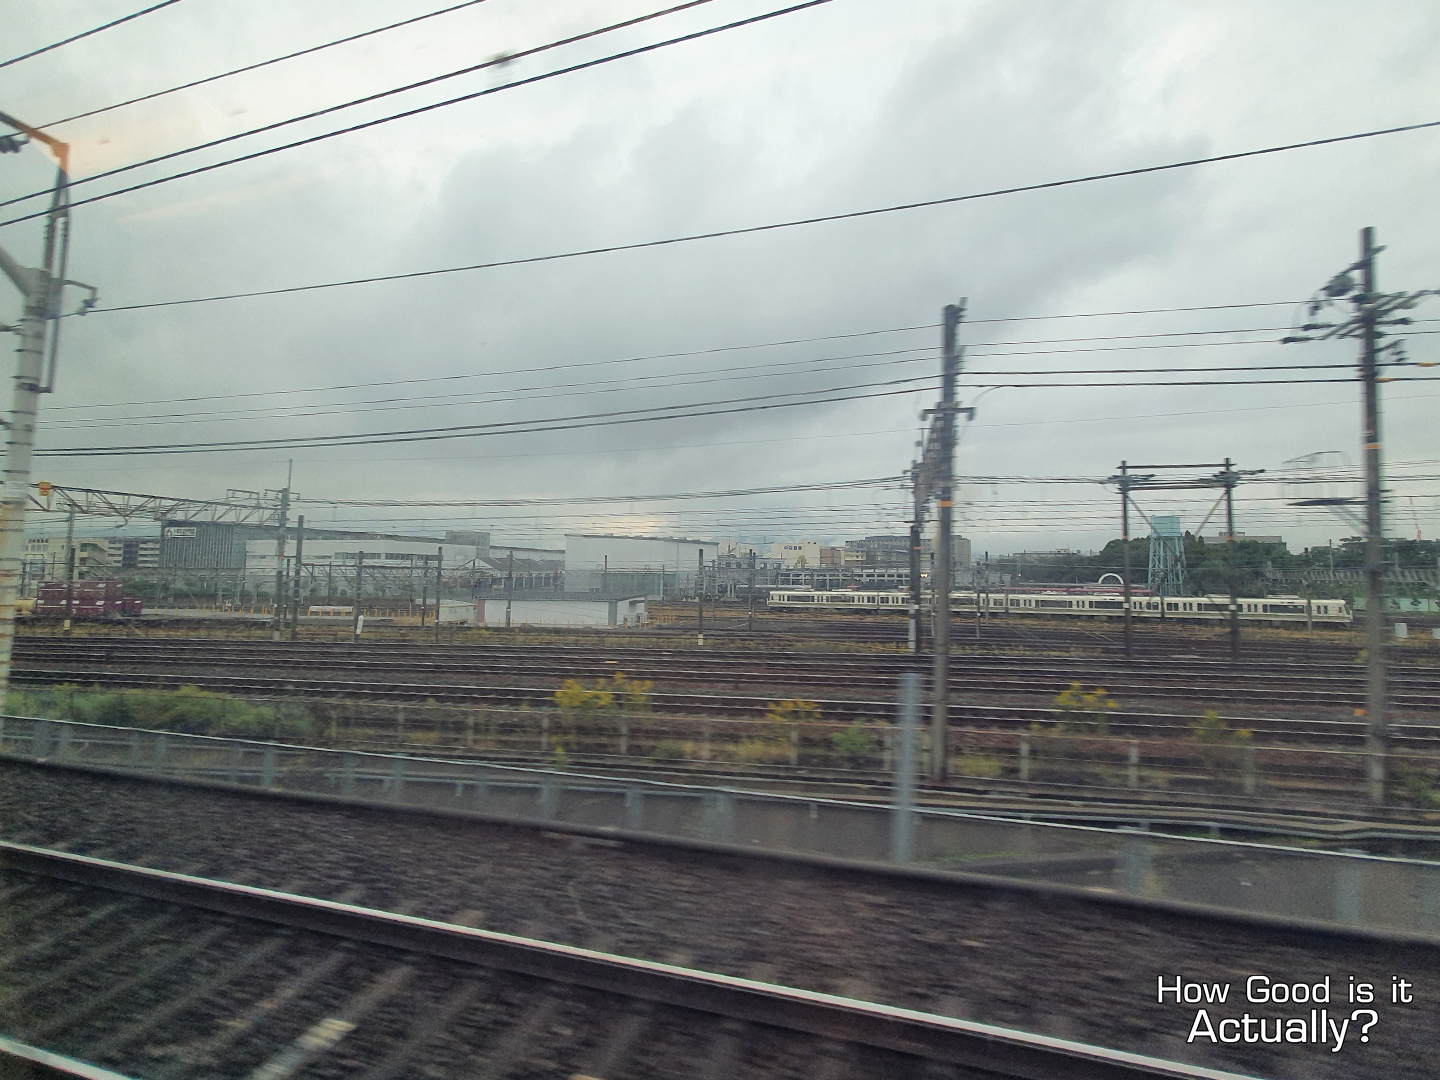
My first stop of the day is at Kobe. The weather was on the cloudy end today, so I couldn’t grab as many (great) photos as I’d hope.
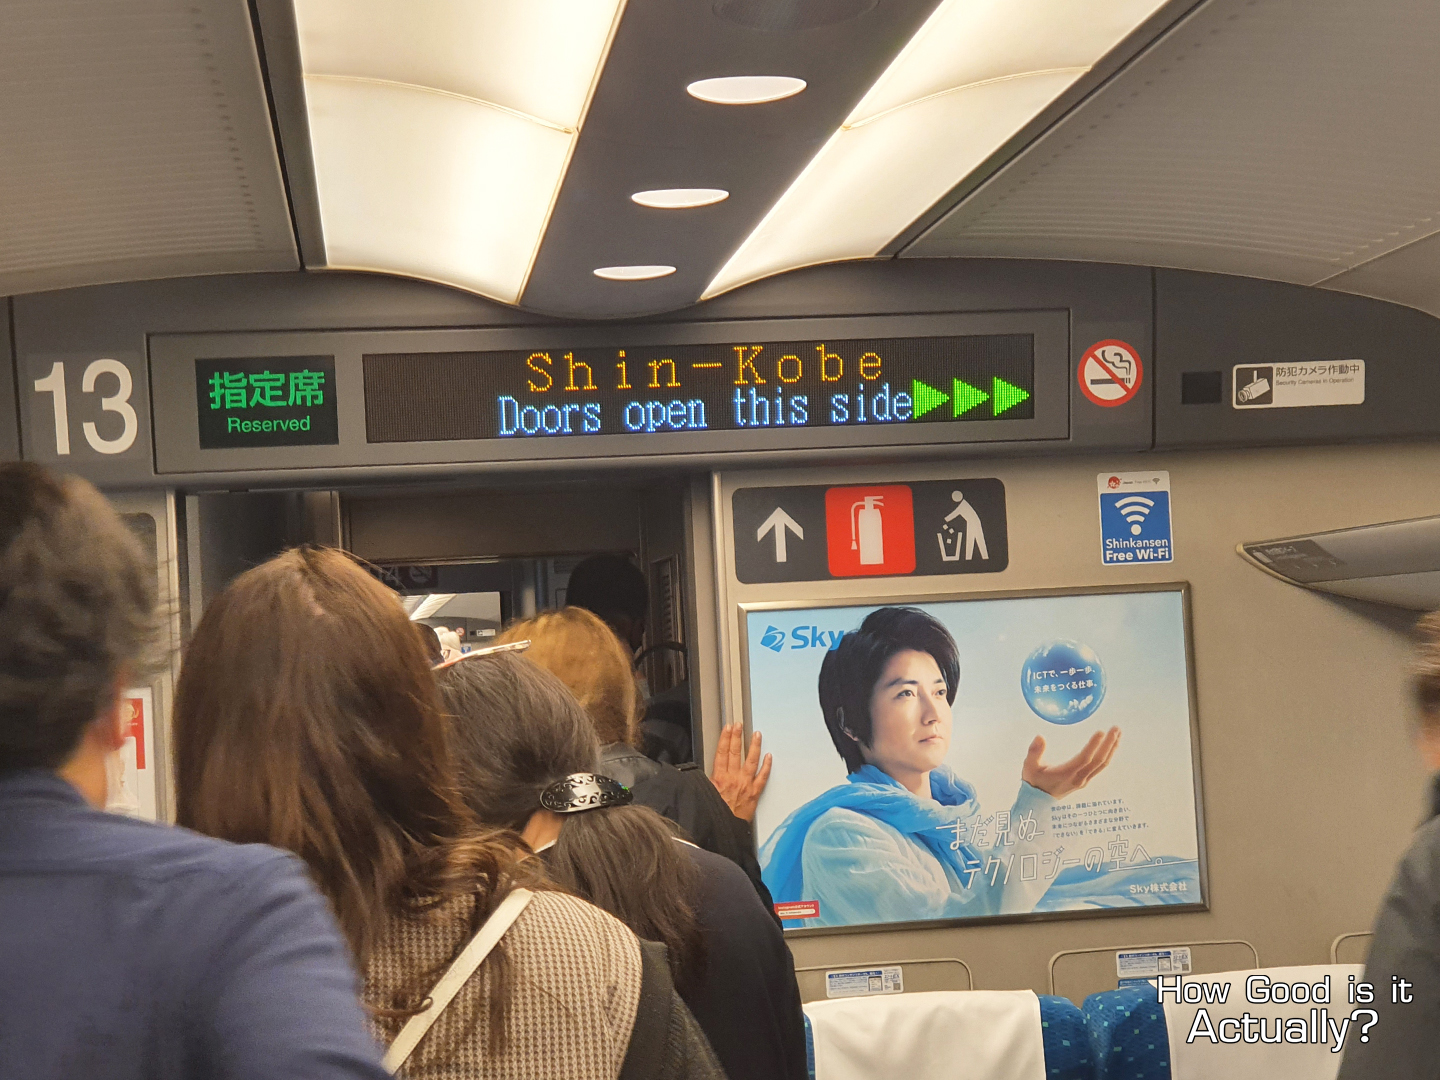
Including the 5 minute stop at Shin-Osaka, the whole trip took only 3 Hours and 9 Minutes.
__________
🗾 At Shin-Kobe Station 🗾
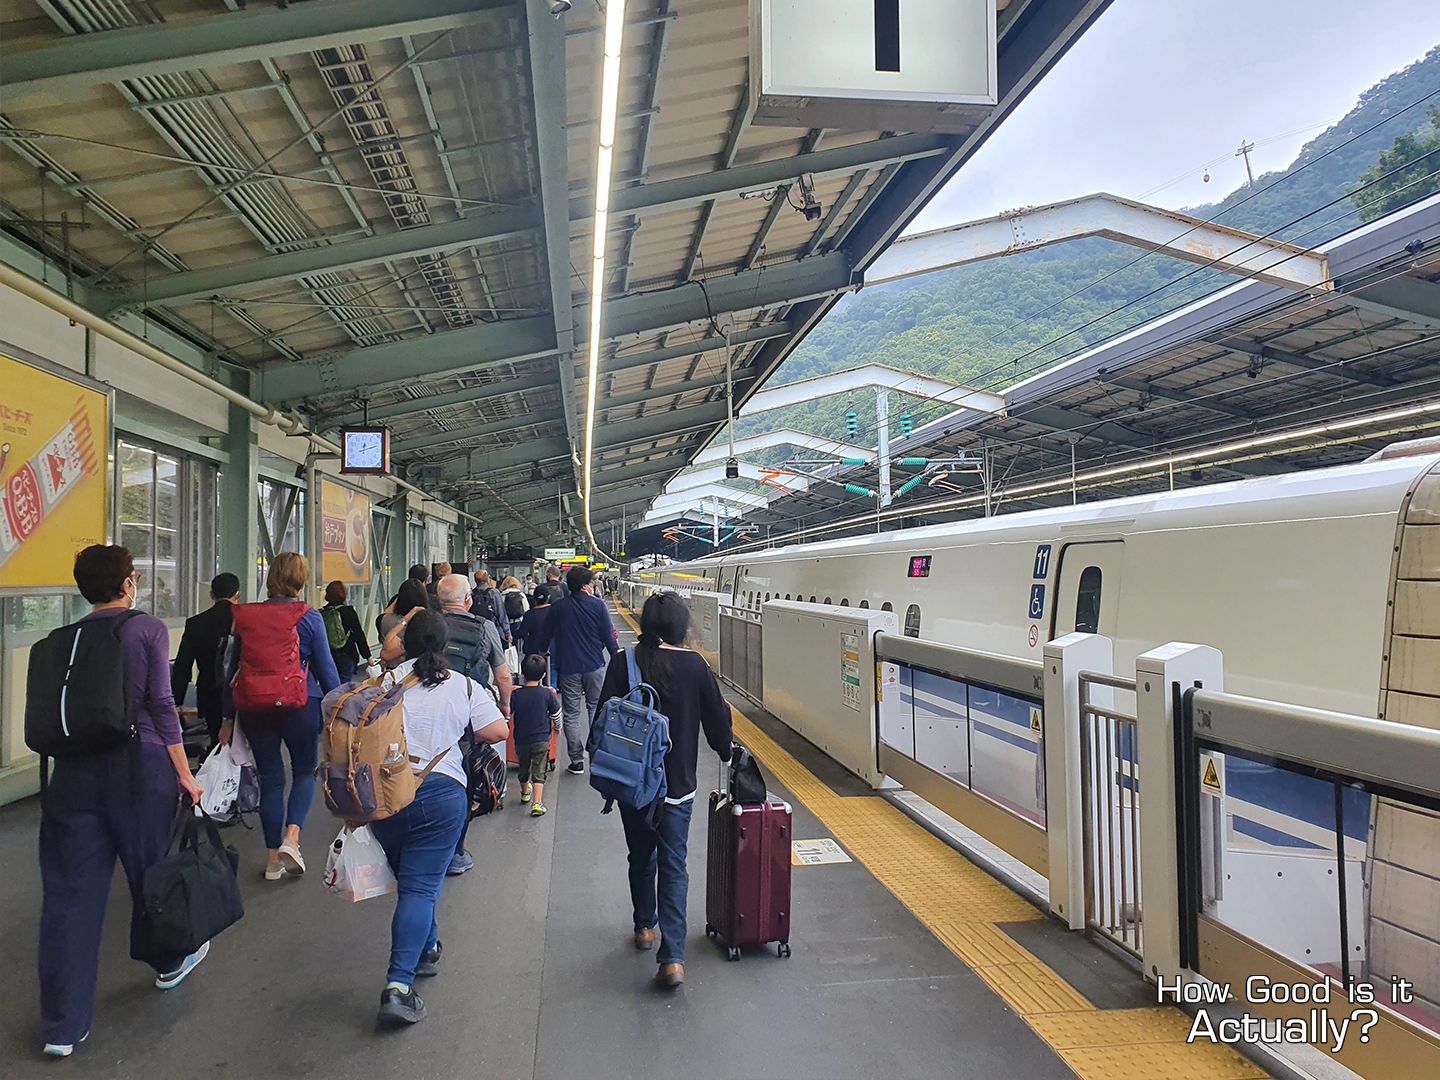
Once you’ve arrived at Shin-Kobe Station, head down the escalator and exit through the ticket gates.
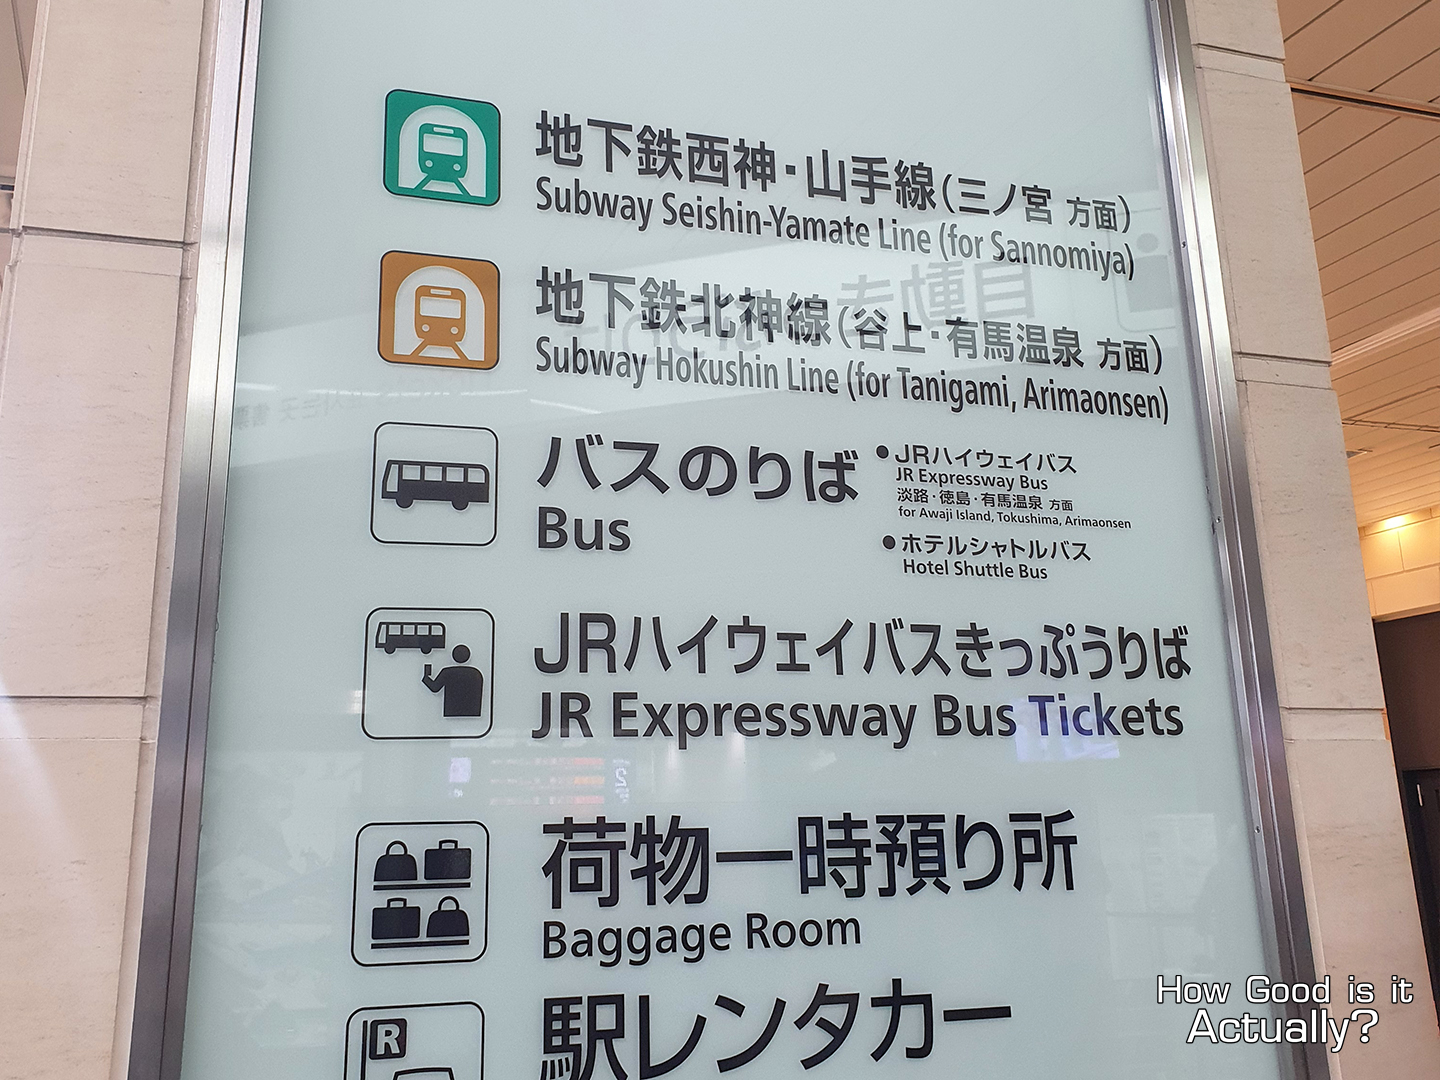
From there, take another escalator down to the Seishin-Yamate Line. If you’re staying in Kobe, take the subway and head over to your destination.
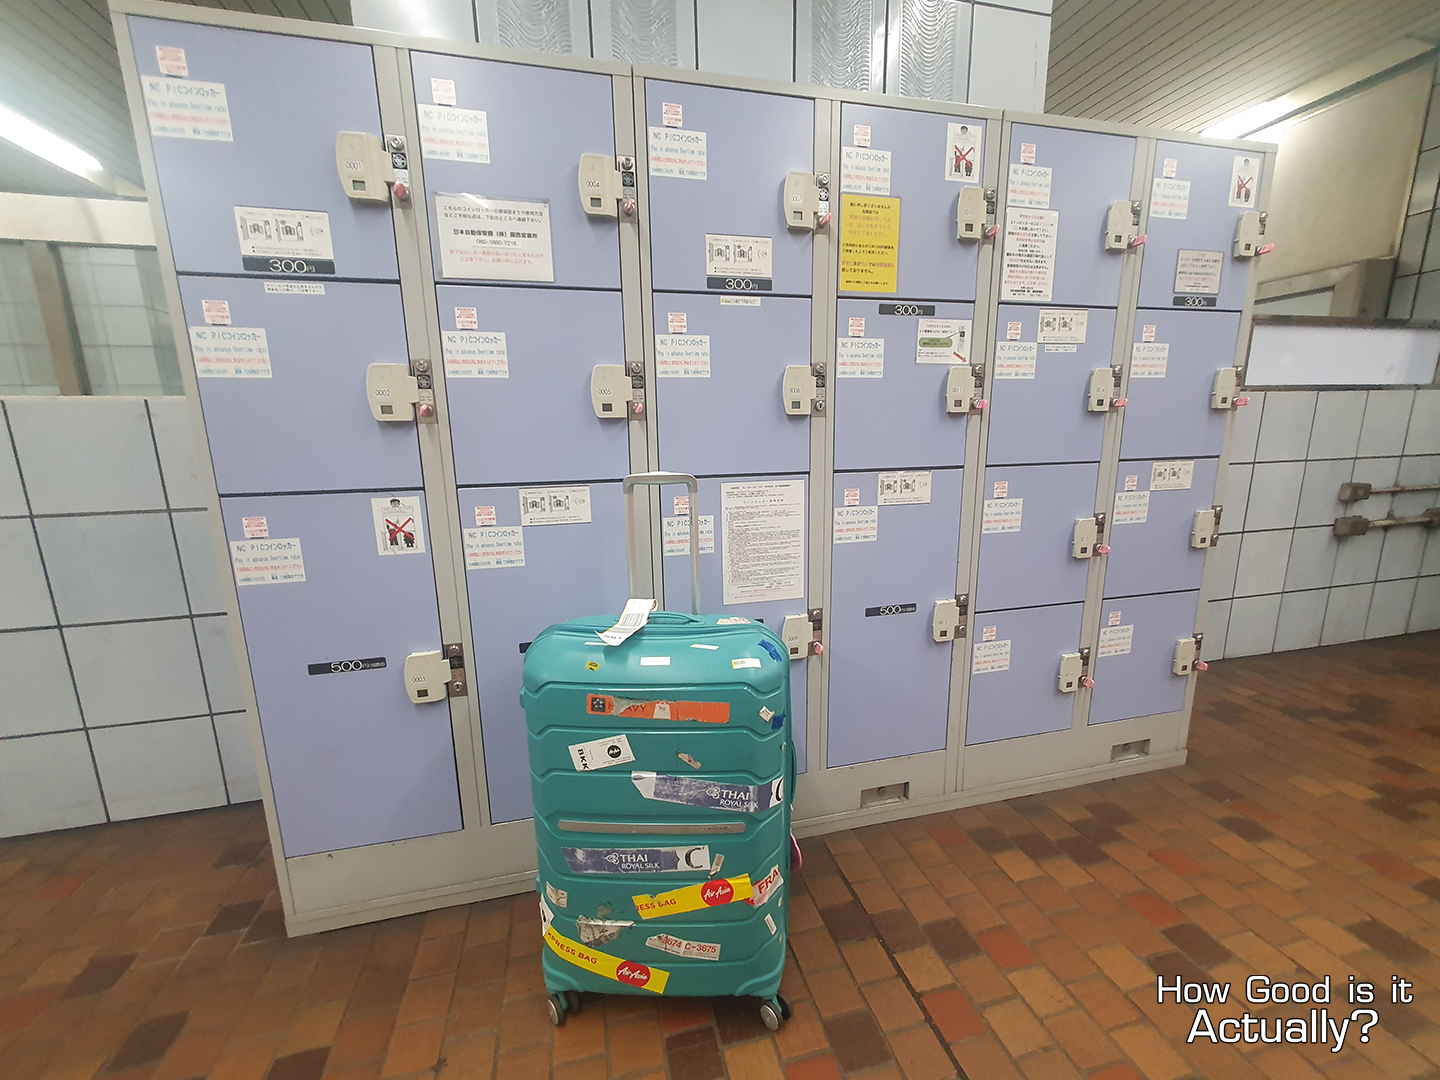
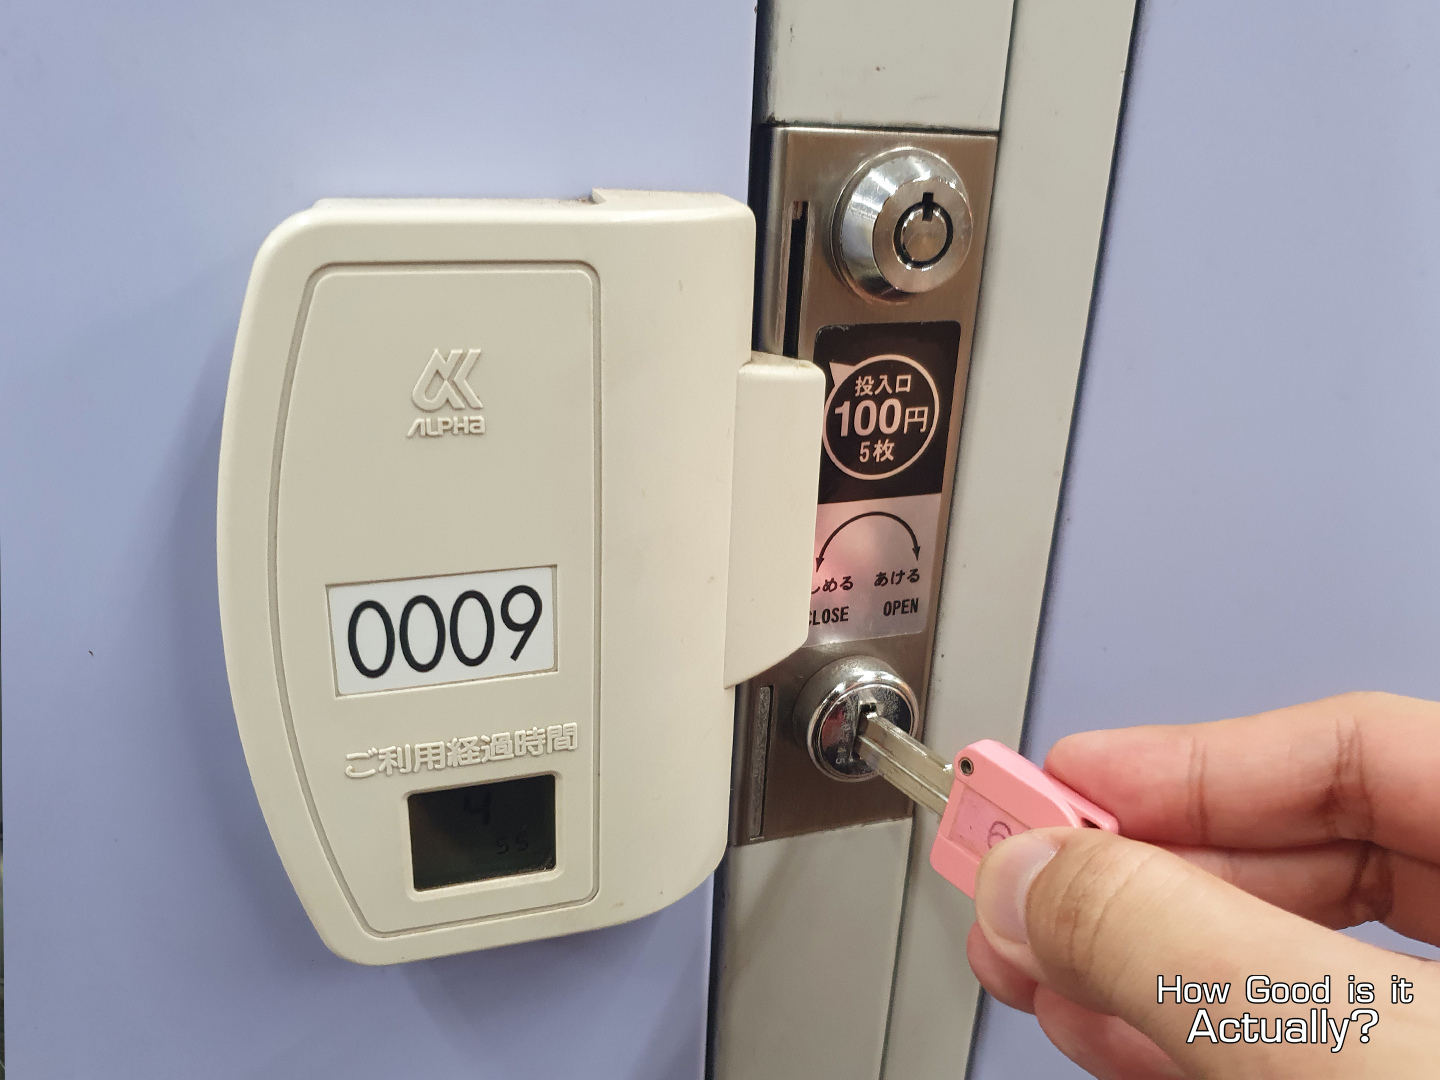
But if you’re like me and are only spending the afternoon here, you can find luggage coin lockers at the station, so you can travel light while you explore Kobe.
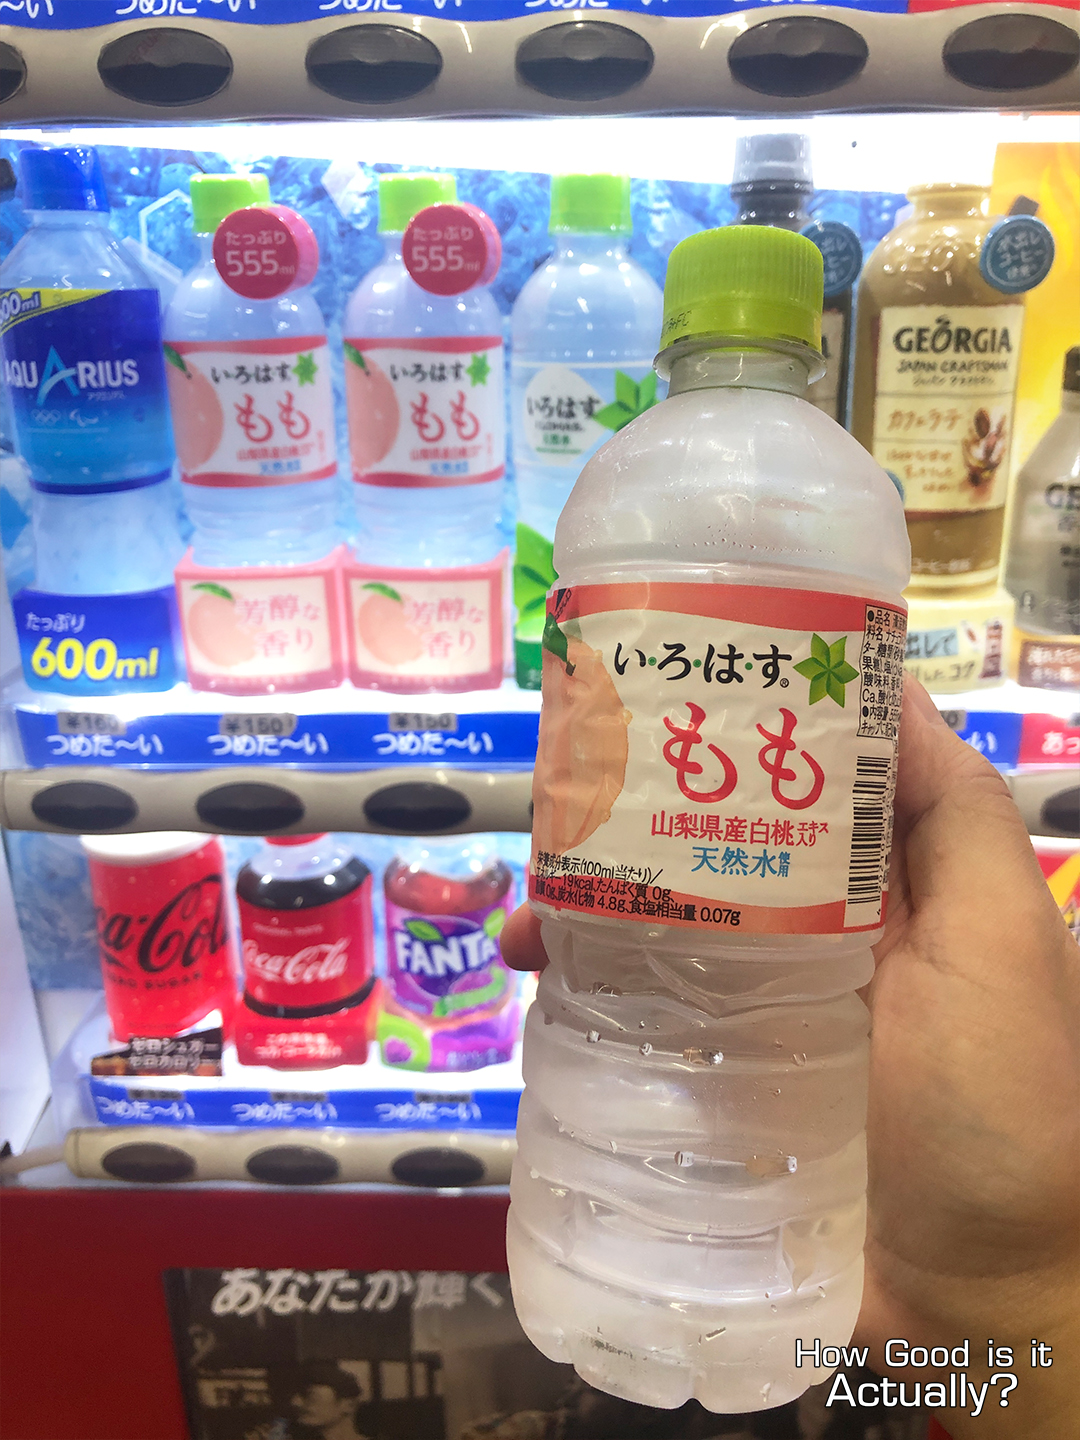
Side Note: The lockers here only accept coins, so make sure you have some handy. If you came unprepared (like me…) head over to a vending machine and grab a drink, and use the change to pay for the coin lockers.
__________
__________
🌇 Things to do at Kobe 🌇
Full Review: Steakland Kobe
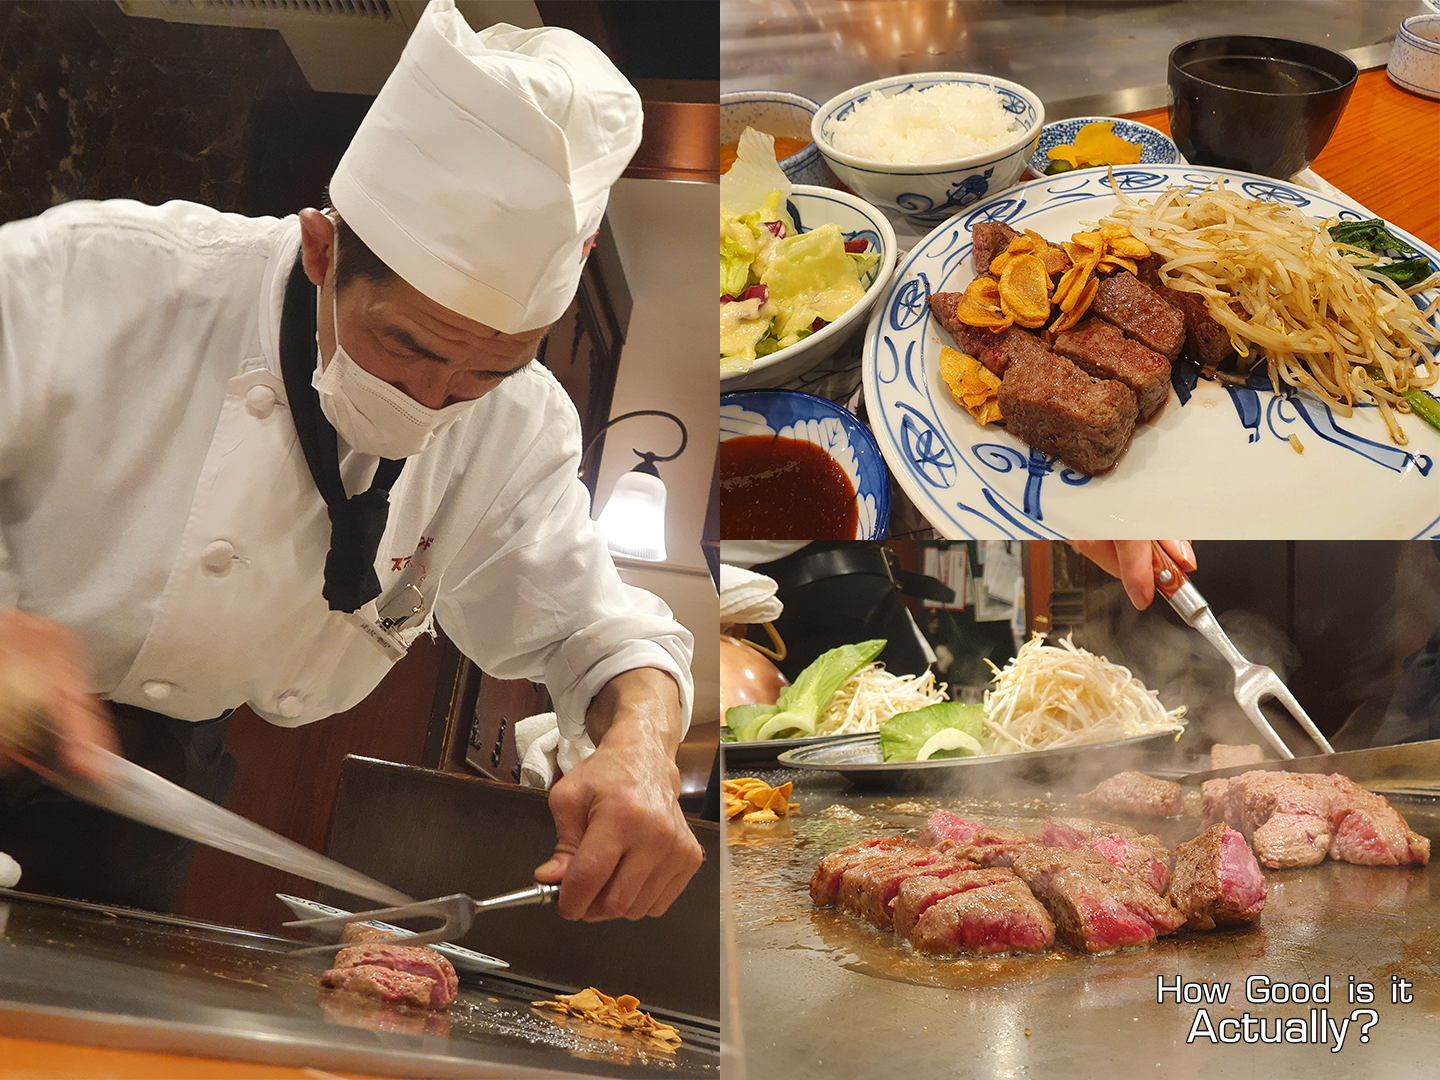
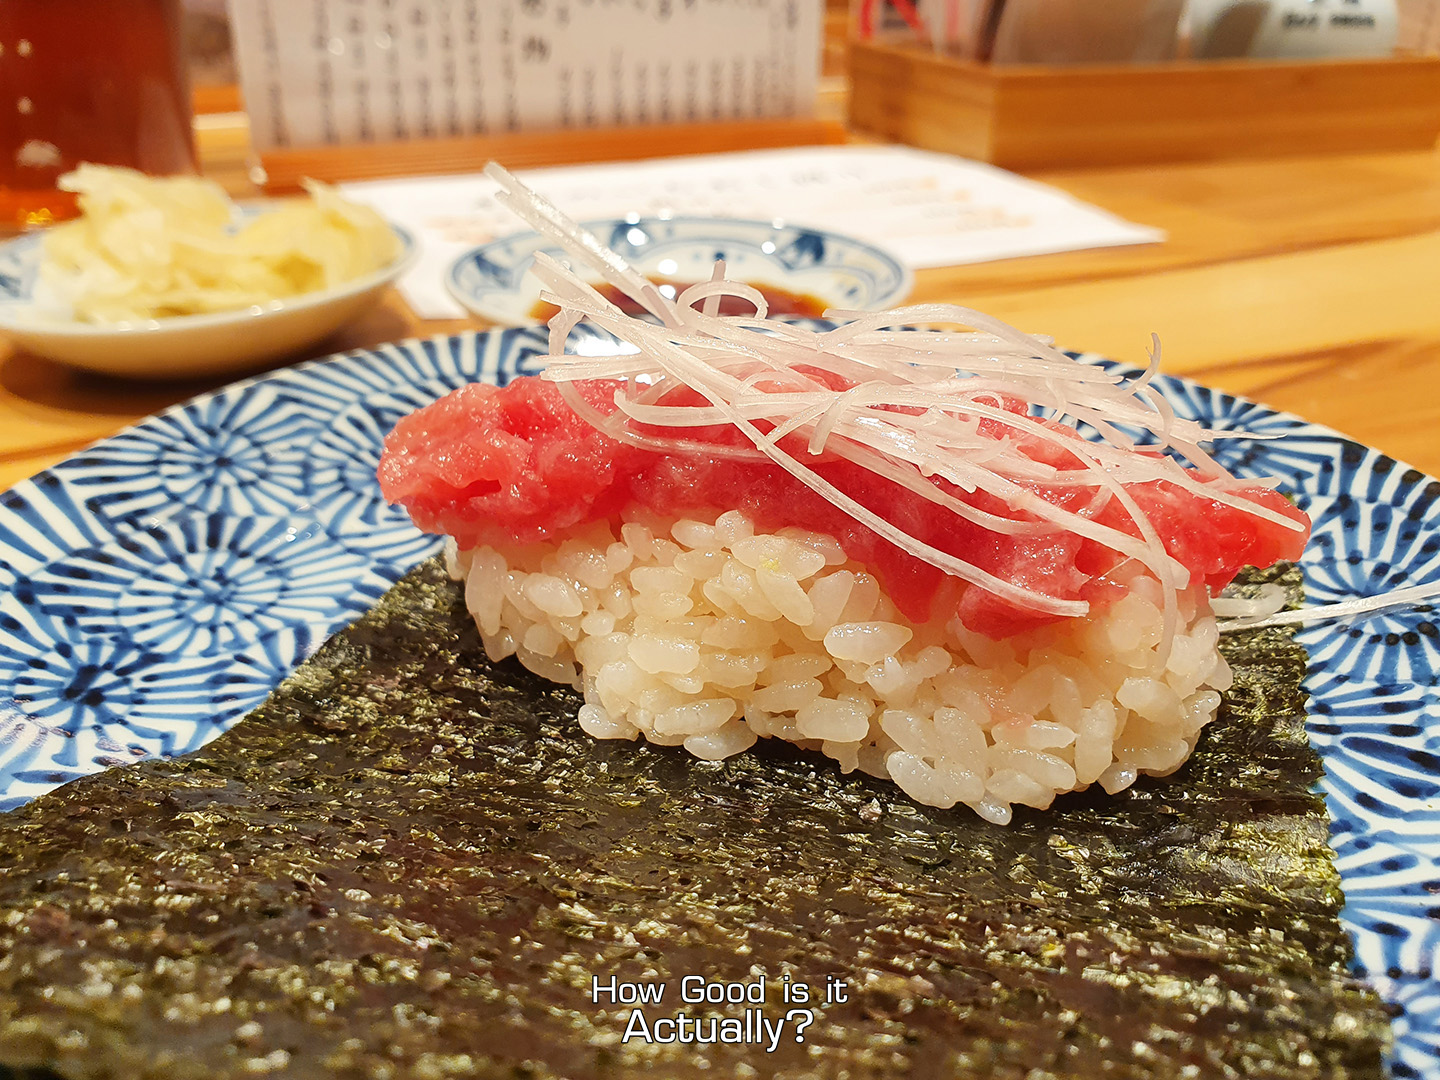
Kobe Beef. Of course I had to try some after coming all the way to Kobe. Even here, Kobe Beef isn’t cheap, so if you’re planning to try some, lunch specials are always a budget-friendly option. And for our meal today, we decided to check out Steakland Kobe at Sannomiya Station (1 station from Shin-Kobe).
You can check out my full review for details, but as a summary – yeah, Kobe Beef is extremely good. If I’m to nitpick, the flavor of Kobe Beef isn’t as strong as some other varieties, but the tenderness really did surprise me.
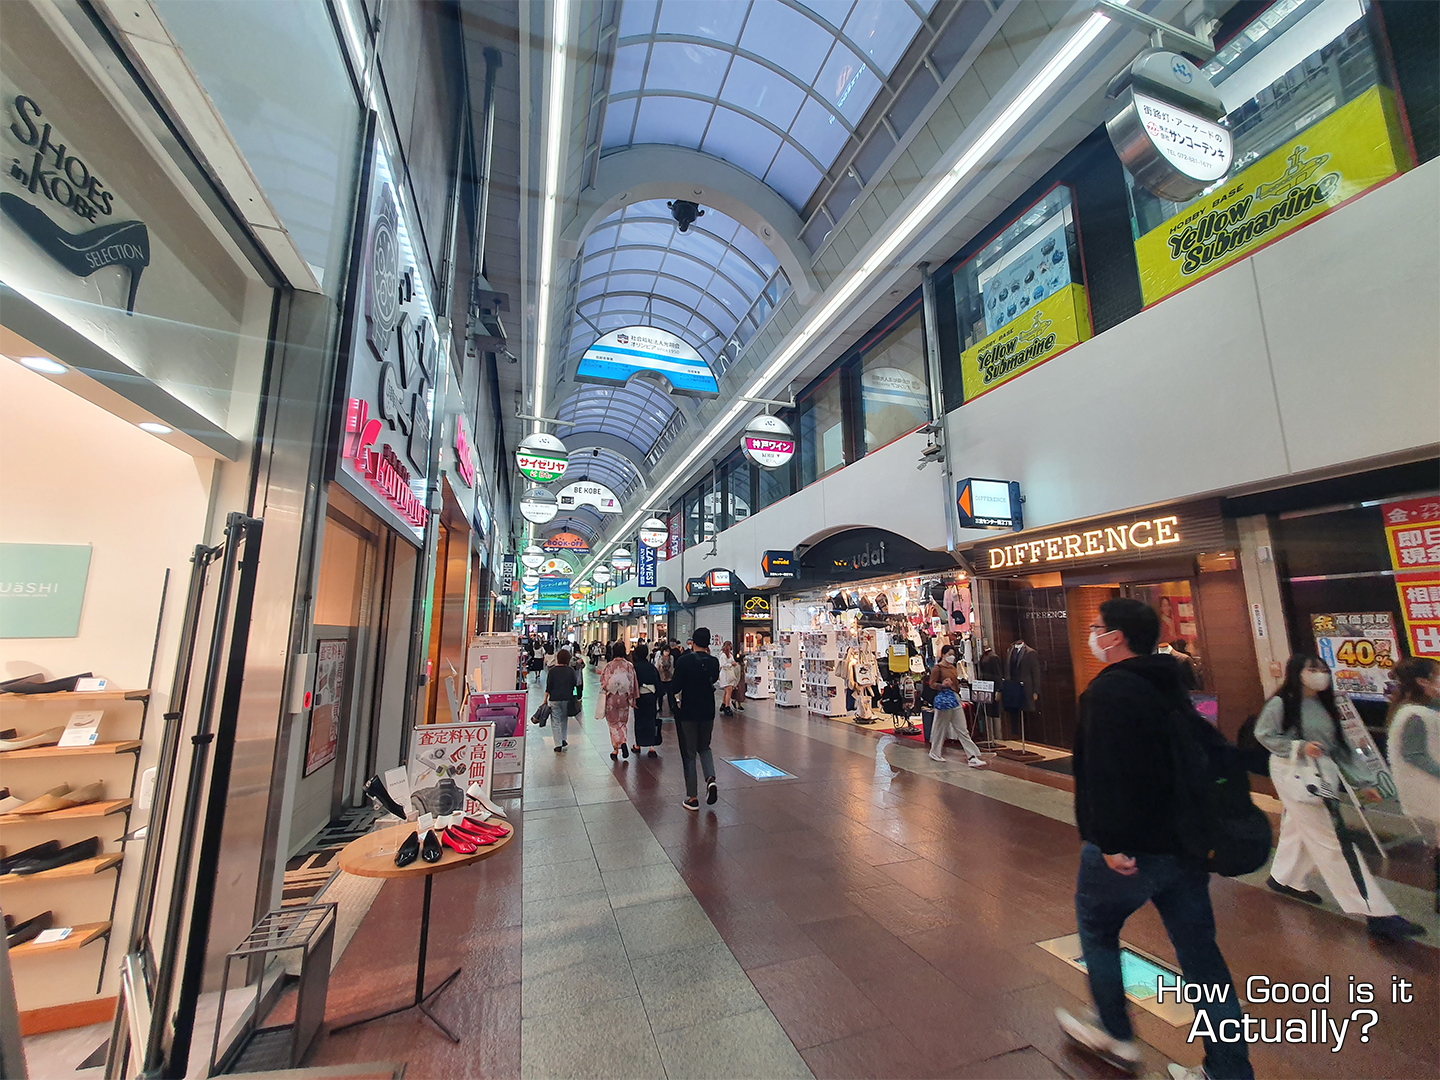
For a bit of shopping, Sannomiya station is also home to Sannomiya Gai Shopping Street – a collection of shops ranging from local souvenirs and snacks, restaurants, and retail shops. Make sure to stop by after you’re done with some Kobe Beef, of course.
Side Note: Don’t forget your luggage if you stored it in the coin lockers.
__________
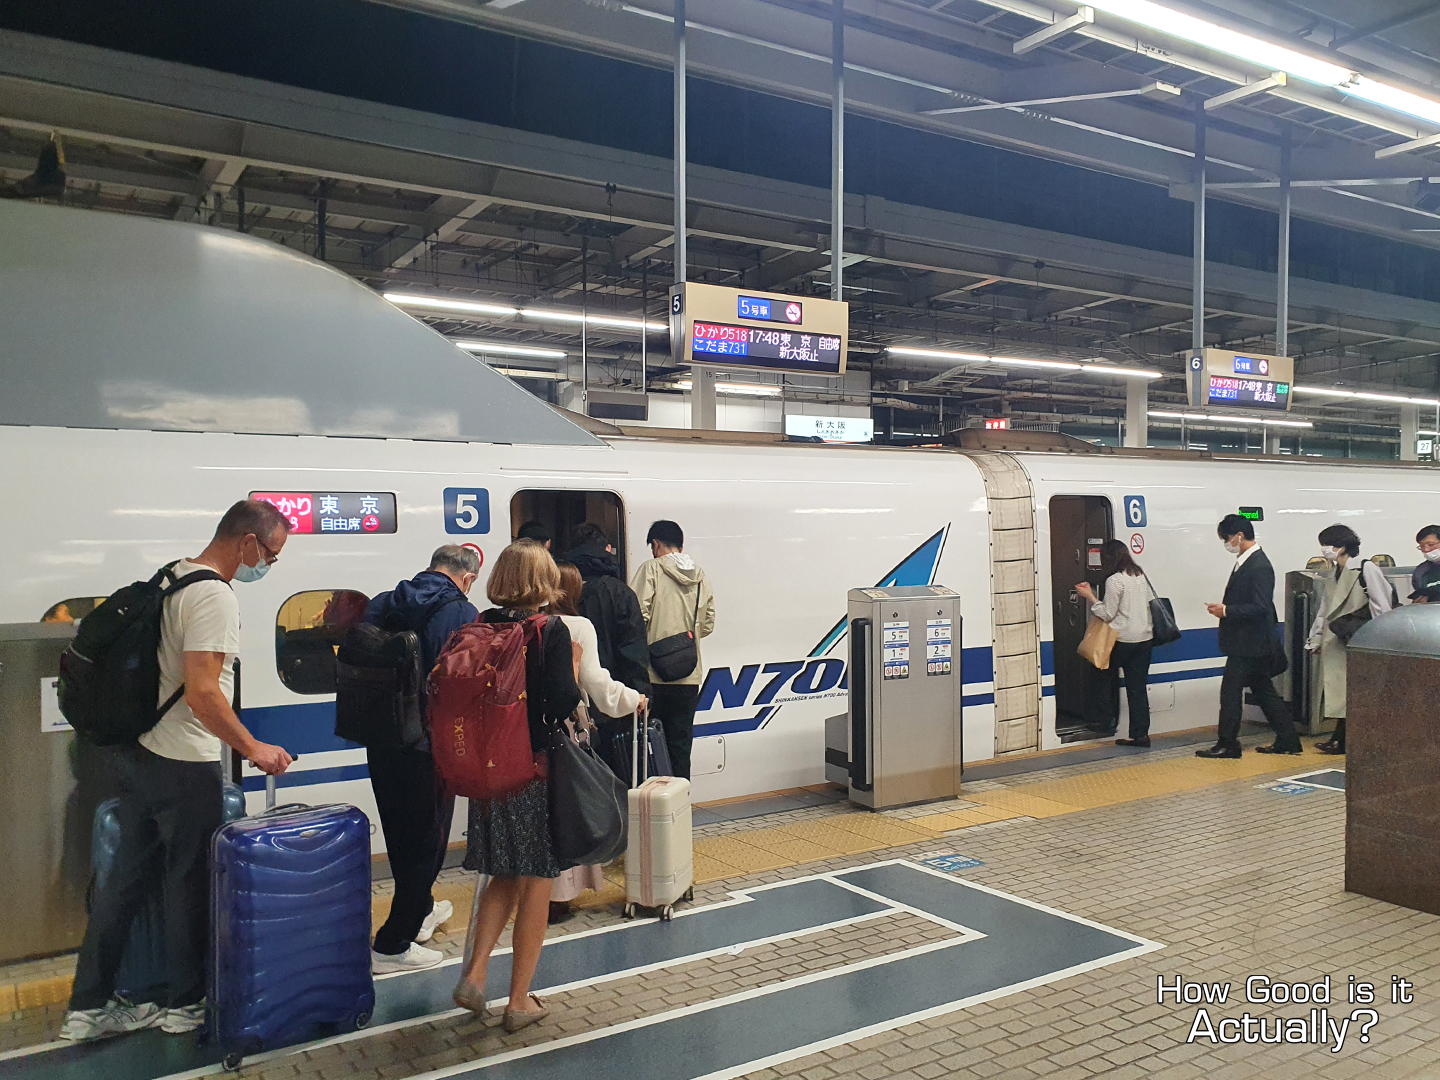
🚆 Departing from Shin-Kobe Station 🚆
Now that my afternoon in Kobe has concluded (and with Kobe Beef crossed off my list,) I’m heading to my final stop for the day – Osaka.

Once you’ve arrived back at Shin-Kobe Station, insert your JR Pass into the ticket gate and make your way towards platform #2.
Hop into your scheduled train and Osaka’s only a 12 minute ride from Kobe. (vs 30-40 minutes if you’re heading to Osaka via the Hanshin Line)
__________
🗾Arrival at Shin-Osaka Station 🗾
Now that you’ve arrived at Shin-Osaka Station, take the escalator down and scan out of the Shinkansen ticket gate.
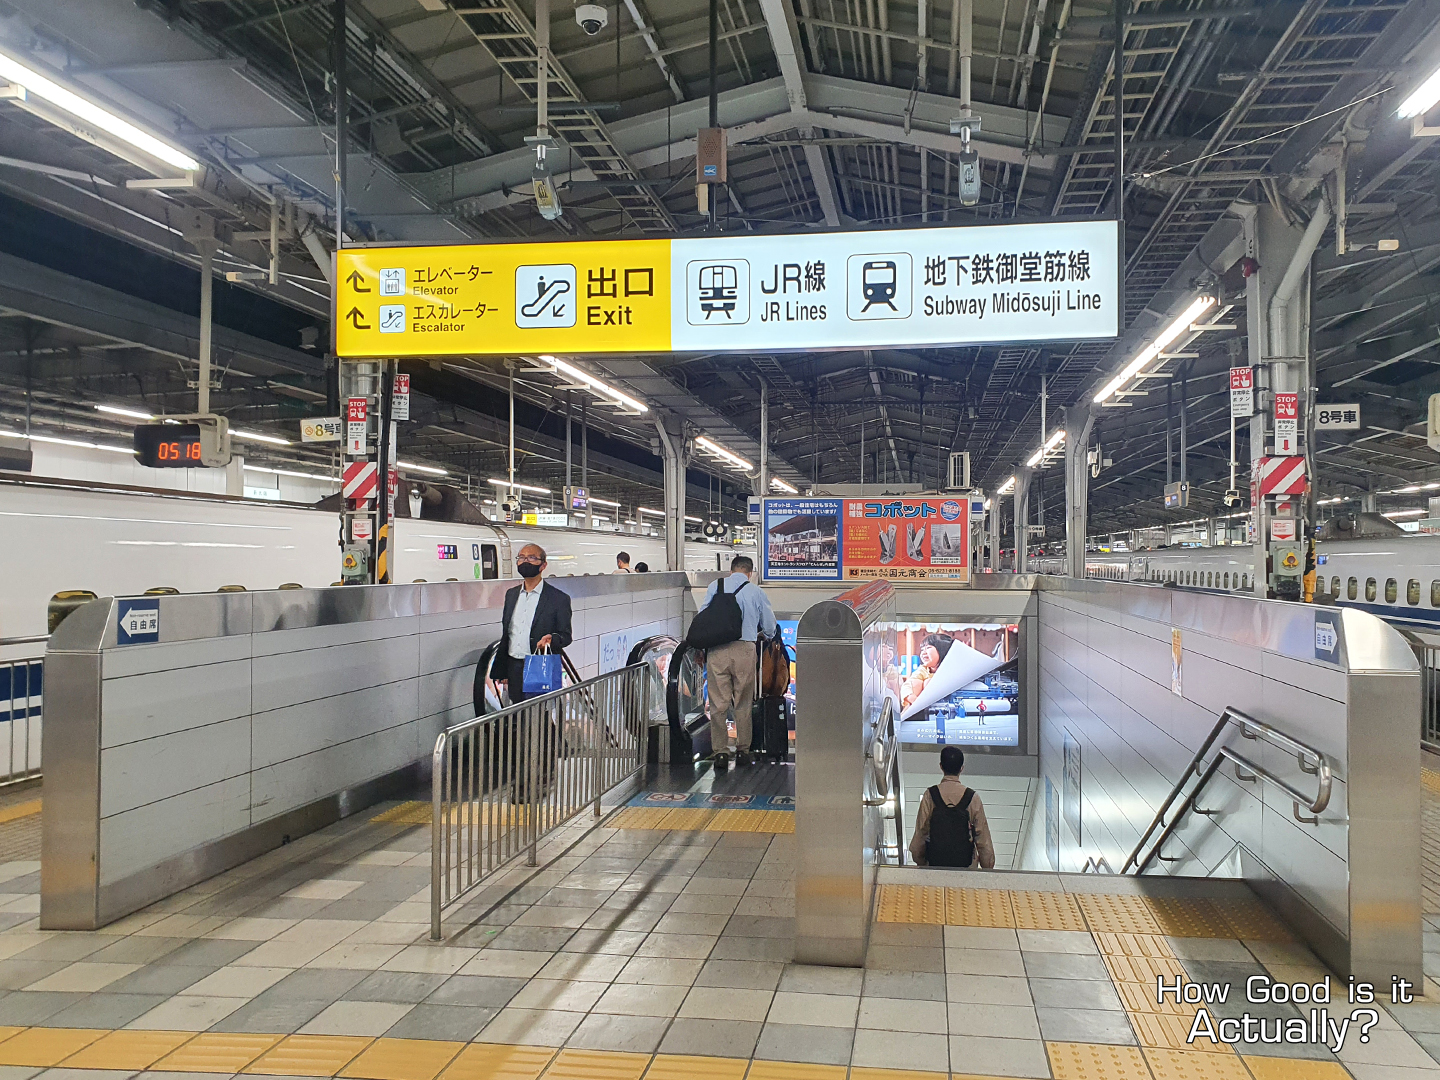
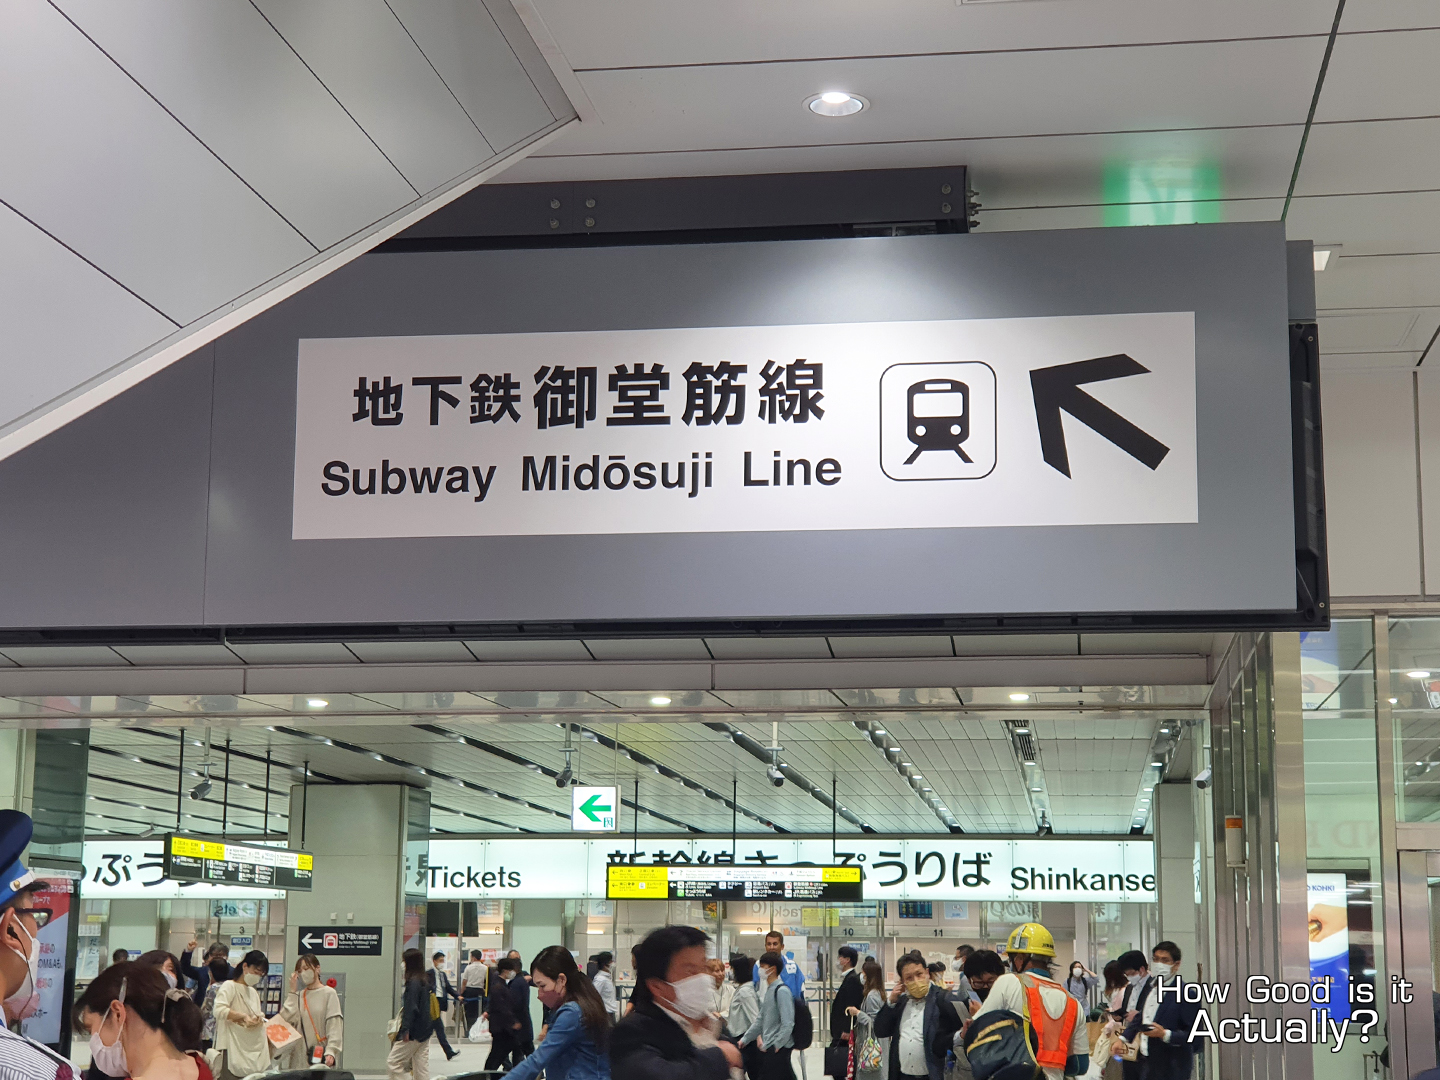
If you’re headed to the main city areas of Osaka, walk towards the Midosuji Line and ride a few stops towards the Shinsaibashi and Namba stations.
__________
__________
🌇 Things to do at Osaka 🌇
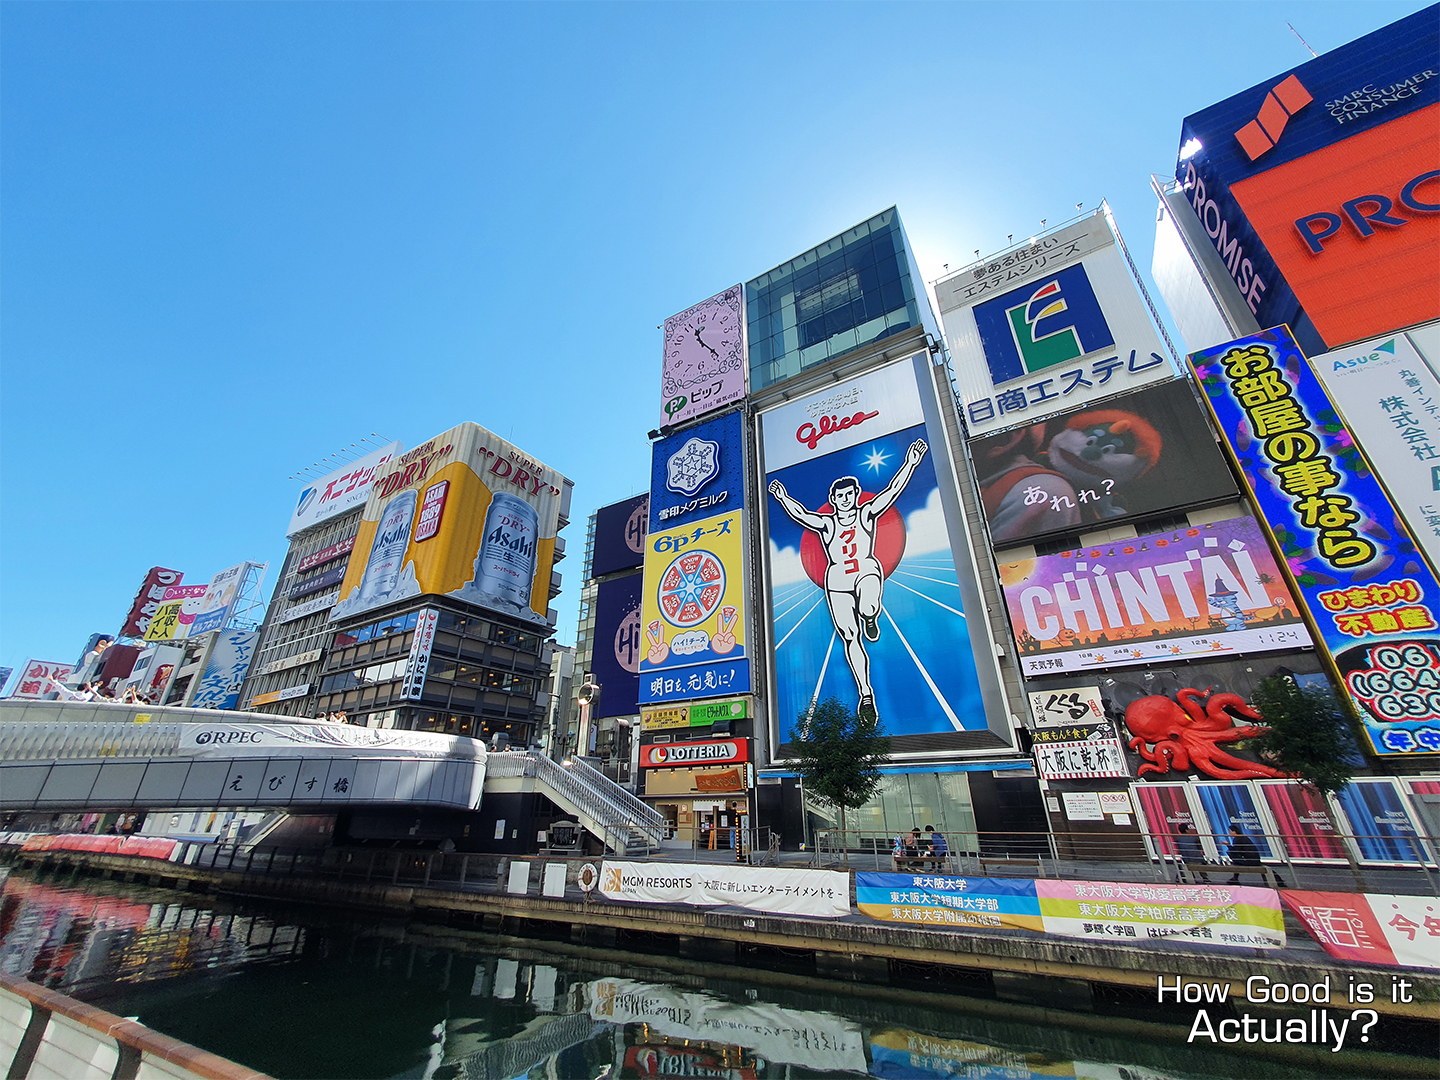
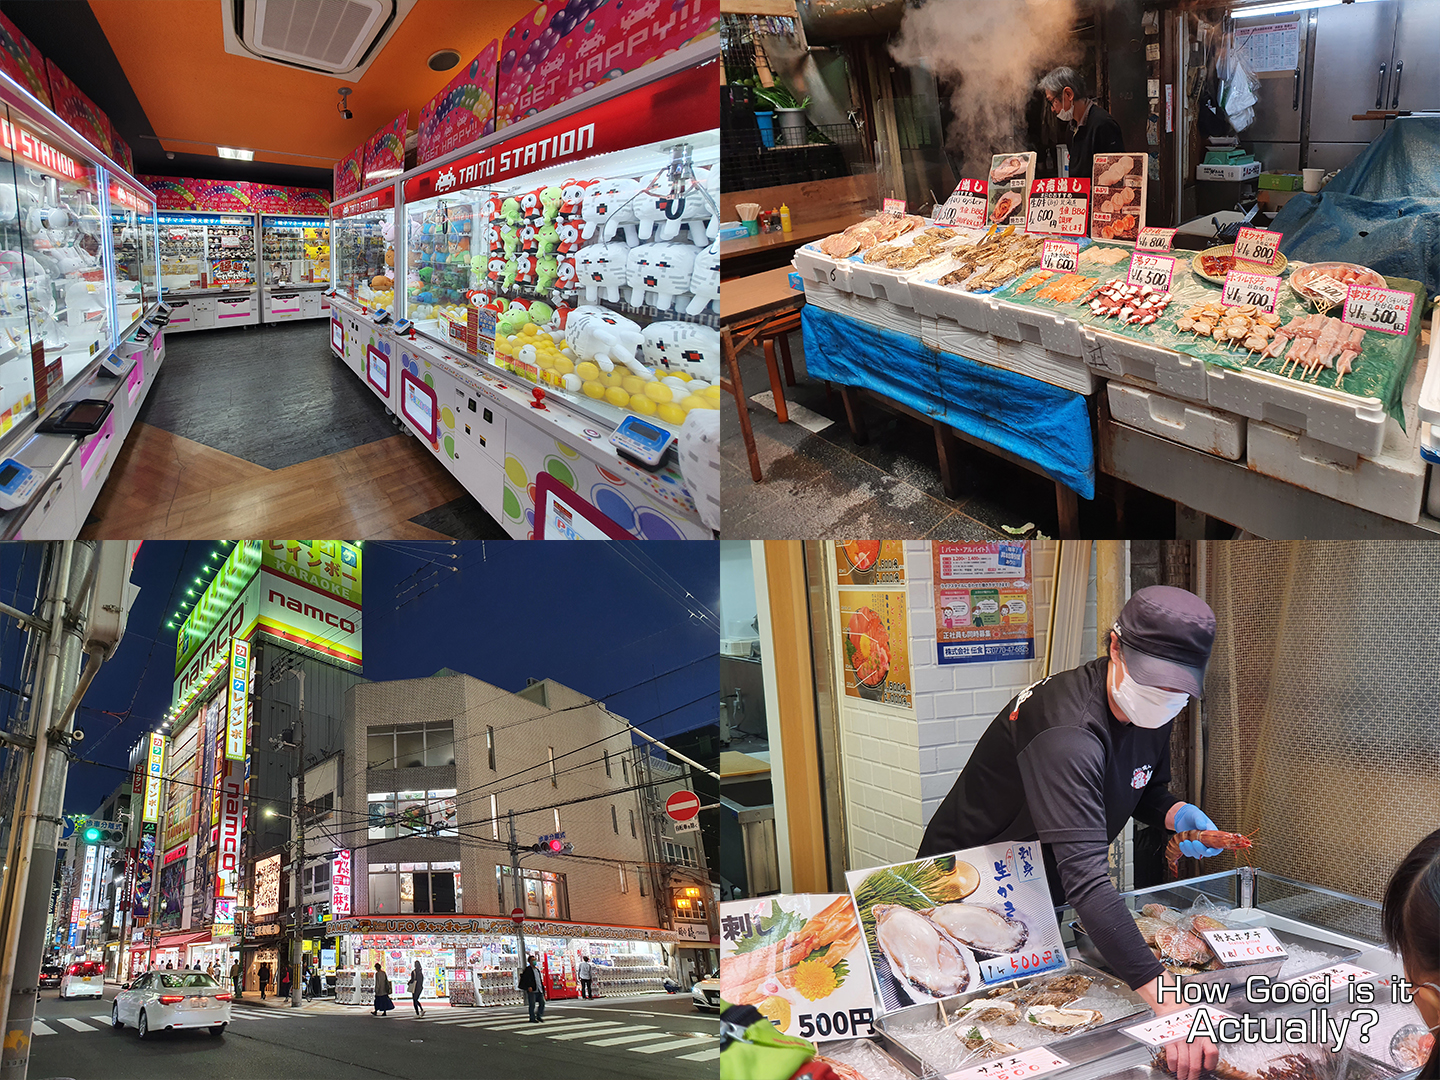
There’s obviously a lot to explore in Osaka, but by far the most famous district here is Dotonbori. There’s way too much to describe in a single paragraph, so check out my full review below, but if you want to experience some of Osaka’s local cuisine, as well as a collection of souvenir shops and photogenic locations, Dotonbori’s got you covered.
Full Review: Dotonbori

Full Review: Kuromon Market
Full Review: Den Den Town
__________
__________
⭐VERDICT⭐
❗️❗️❗️
Editor’s Note: The price of the JR Pass has increased to ¥50,000 since the writing of this review. As a result, my travel plan here no longer reaches the threshold needed to cover the cost of the pass – so you’ll need to add more stops to make full use of it. The overall experience (convenience, seating, etc.) was a very positive one regardless, so if you can cover the new cost, I say there’s no reason NOT to get a JR Pass.
❗️❗️❗️
*Below is my original verdict when the pass was ~¥30,000*
So how good was the JR Pass actually? There’s no denying that the Shinkansen is one of the fastest (and most convenient ways) to travel around Japan, but the determining factor should be whether or not your schedule can cover the ¥30,000 cost of the (7-Day) JR Pass.
To use my travel plans as an example, I went from
Tokyo→Kobe
Kobe→Osaka
Osaka→Kyoto
Kyoto→Osaka
Osaka→Tokyo
Tokyo→Narita Airport (NEX)
From what I can gather, those trips would have cost me around ¥45,000 without the pass, so for me, the JR Pass was worth the money.
But as a really quick guideline, if your plans include Tokyo→Osaka, Osaka→Tokyo, and Tokyo→Narita Airport, that’s already roughly ¥30,000 by itself. Add to that one more city and the rides inside the city’s JR lines, and you’re already benefiting from the JR Pass. So have a look at your travel plans and its costs.
If buying a JR Pass turns out to be the cheapest option, then I see no reason for you not to grab one for your journey.

__________